IFT Sign(On-Going)
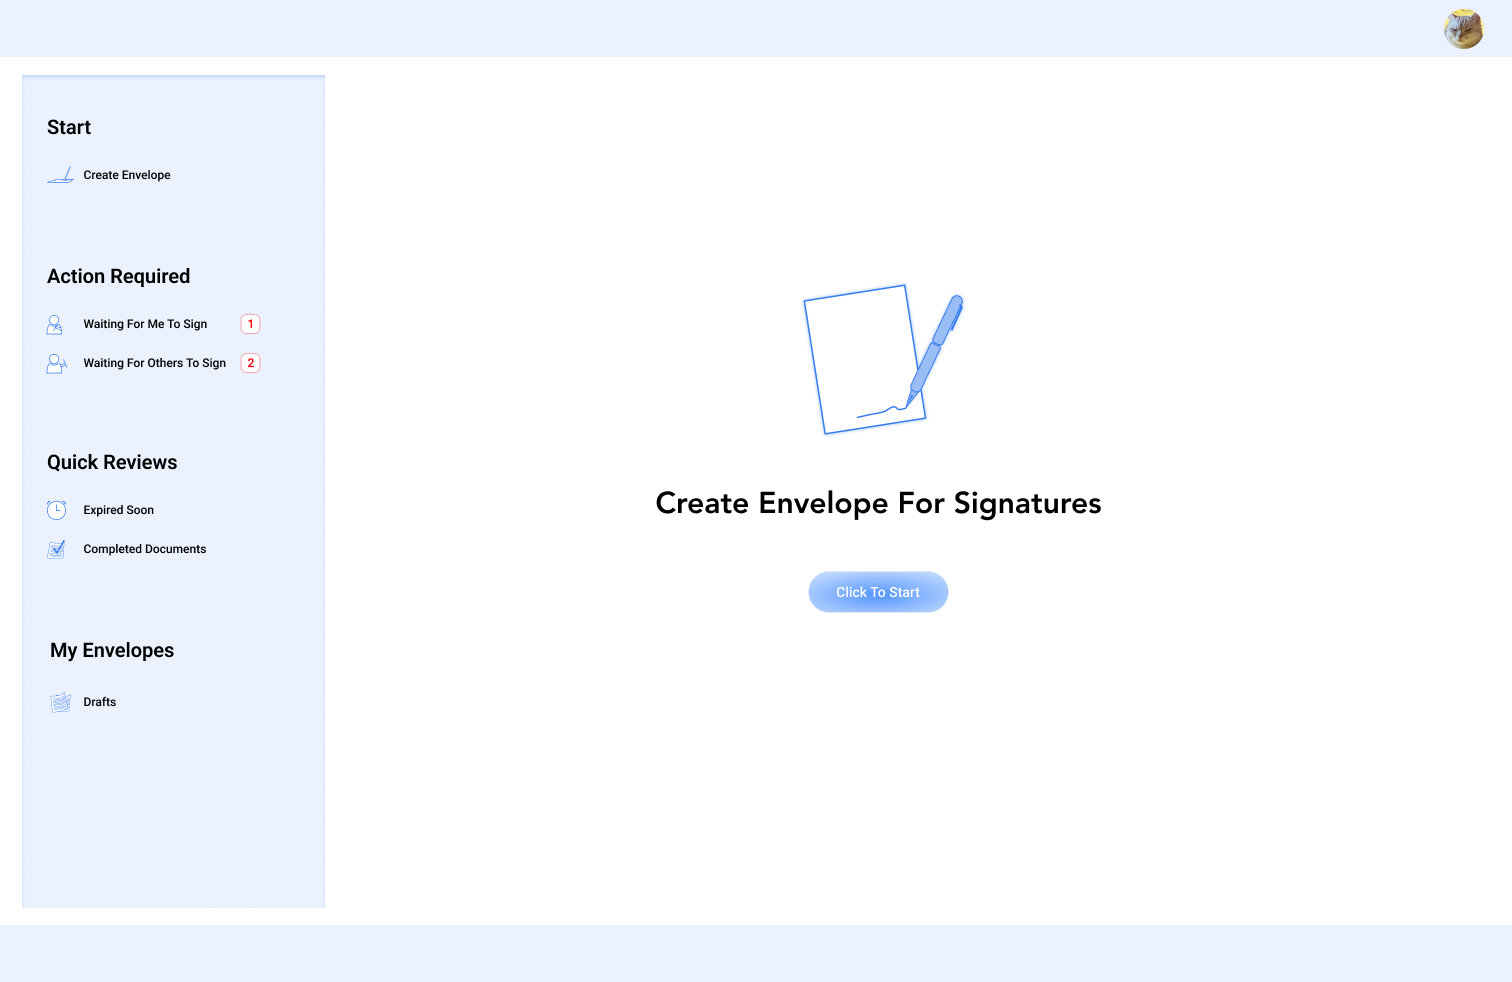
* Because of the NDA, this page only provides the very basic info of this project. More details please reach to me in person. Thank you. *
Introduction
My Role
Work cross-functional as a UI/UX designer with product manager and front-end development to analyze and define the pain points and methods to improve the signing experience of signers and signees. Bridging the insights and solutions to create an advanced signing experience for business and individual signers.
Team
Product Manager: Jiabao(Shelly) Mao
Front-End Developer: Shirley Tang
Supervisor: Blake Zhu
Project Background
● The cost of subscriptions for existing signing platforms is too high.
● Although competitors already have successful business models and have taken the market,
each of them has flaws that can't be overlooked.
Problems/Pain Points
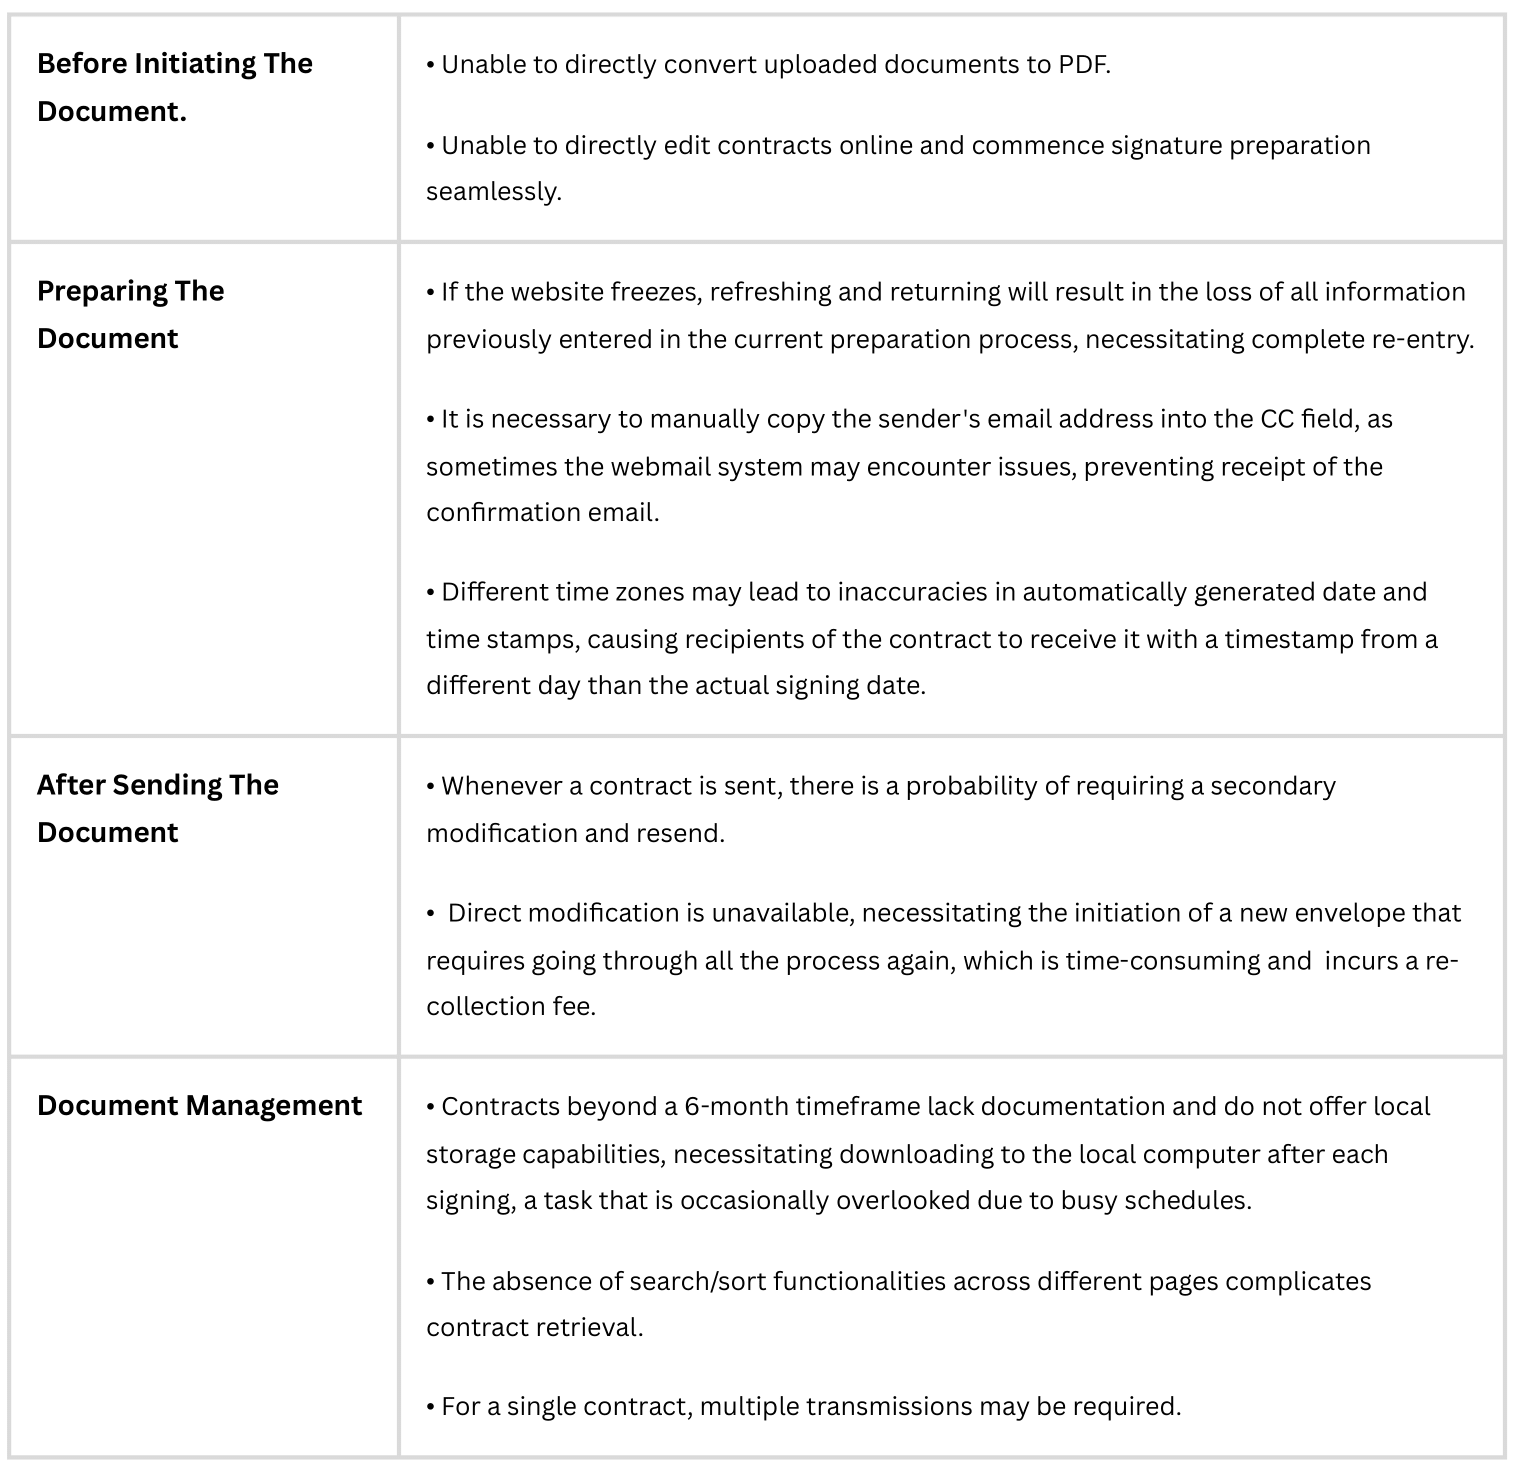
Goals/Solutions
Ensure product usability, establish a comprehensive foundation for online signing, and meet the diverse, basic business signing needs of users.
Create a more succinct interface and flawless working logic while maintaining a clean, minimalist aesthetic.
Project Constraints
● User Research: Some pain points are gathered, but lack multidimensional analysis. There is a need for systematic matrix research to assess authenticity of demands. At current stage, the pain points are very singular.
● Time: Project has to be done in 4 months.
● User Test: Limited to real customer testing.
Approach & Process
Design Approach is conducted from 4 dimensions:
● Clarity: Make the interface intuitive, people know exactly what actions to take when they see it.
● Efficiency: Anticipate key actions that help people create/send envelopes and sign smoother and faster.
● Optimization: Create an advanced signing experience by leveraging competitor products' strengths and make improvements on their shortcomings.
● Beauty: Convey a sense of consideration and respect to users through thoughtful and clean visual elements.
Design Brief
Create a productive and frictionless online signing experience by making all keys steps logical and self-guided and Optimize existing functions on the market by simplifying the user interactions. Meanwhile, replace cookie-cutter icons with illustrations wherever it's needed to add a warm, friendly sense to the experience.
Testing Result
According to the test conducting among employees and management inside the company, the product results in a targeted 20% reduction in processing time, and an expected 18% budget savings.
Design System
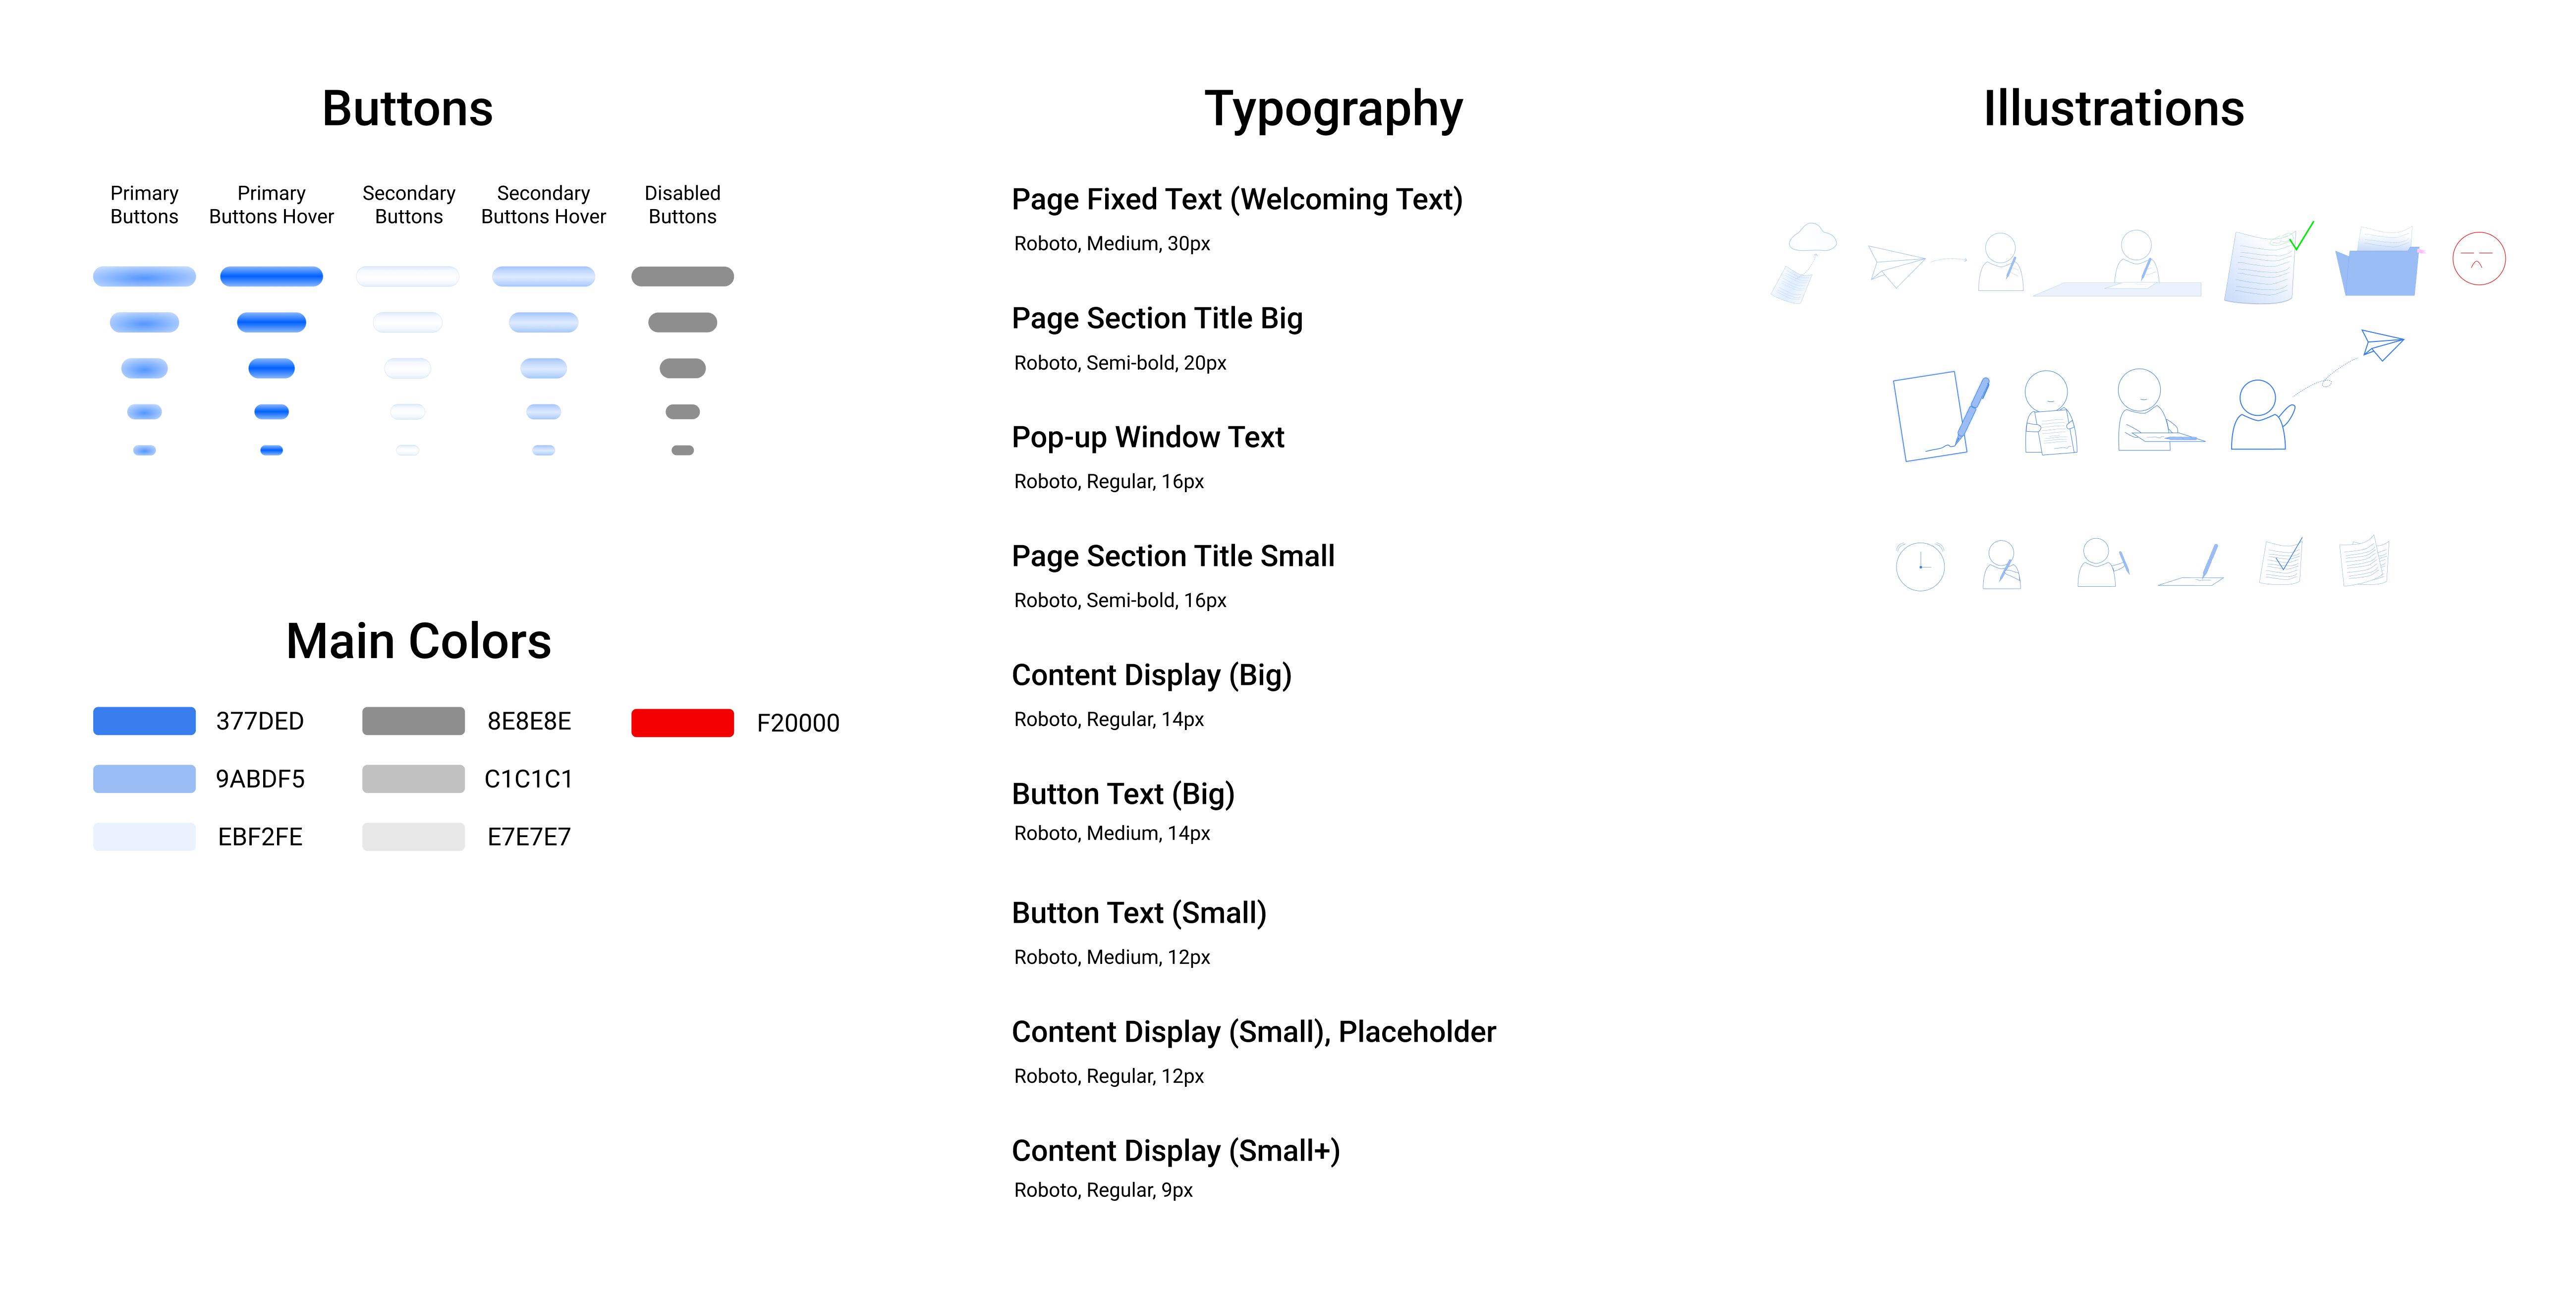
Design Sketch
Create Envelope
When creating an envelope, senders have to choose whether the envelope is created for recipients (and senders) to sign or the sender is the only signer. This step can also be done in the "Add Recipient" step after document(s) are uploaded. The default setting is "Sign For Signatures", which involves other recipients to sign the document.
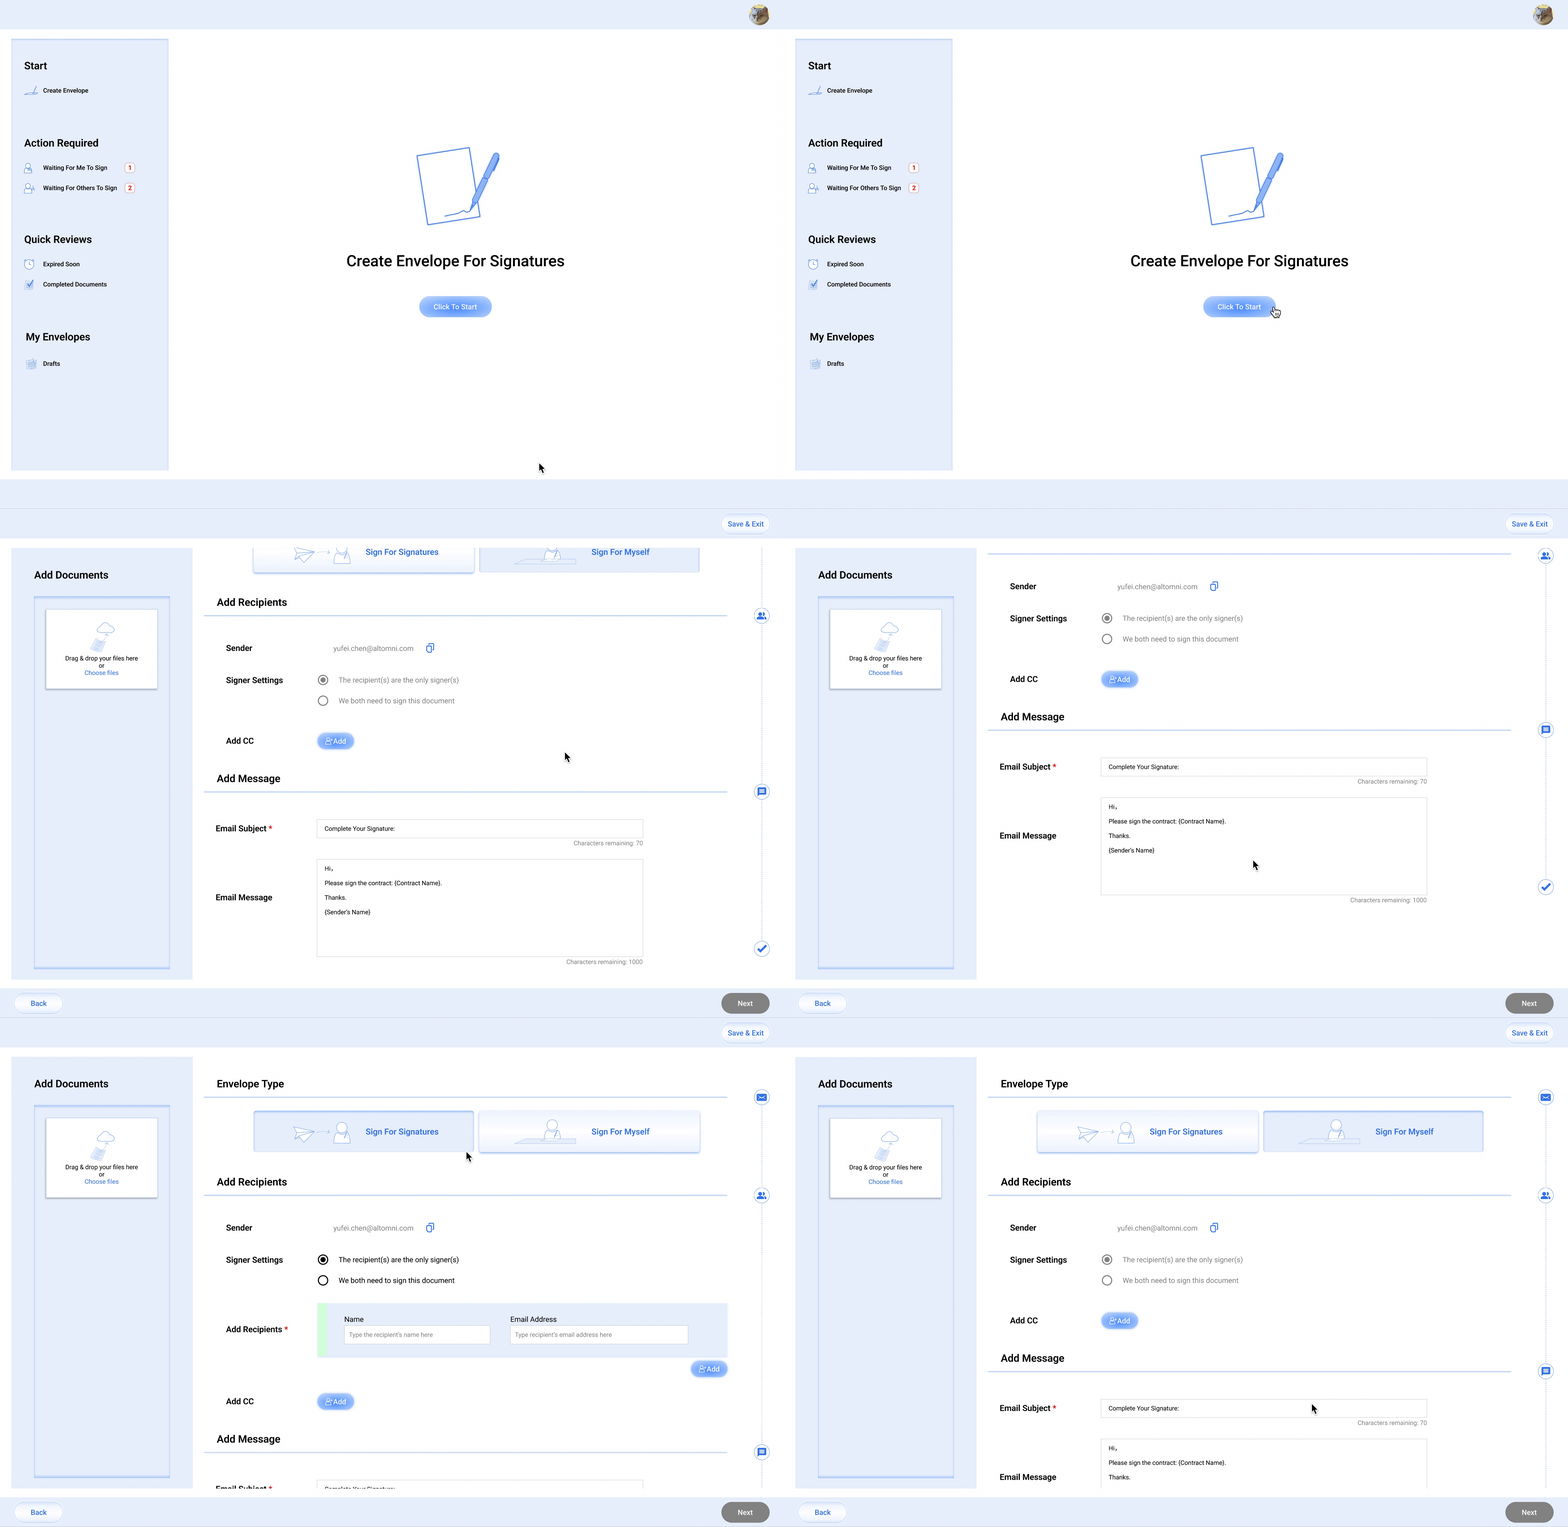
Add Documents
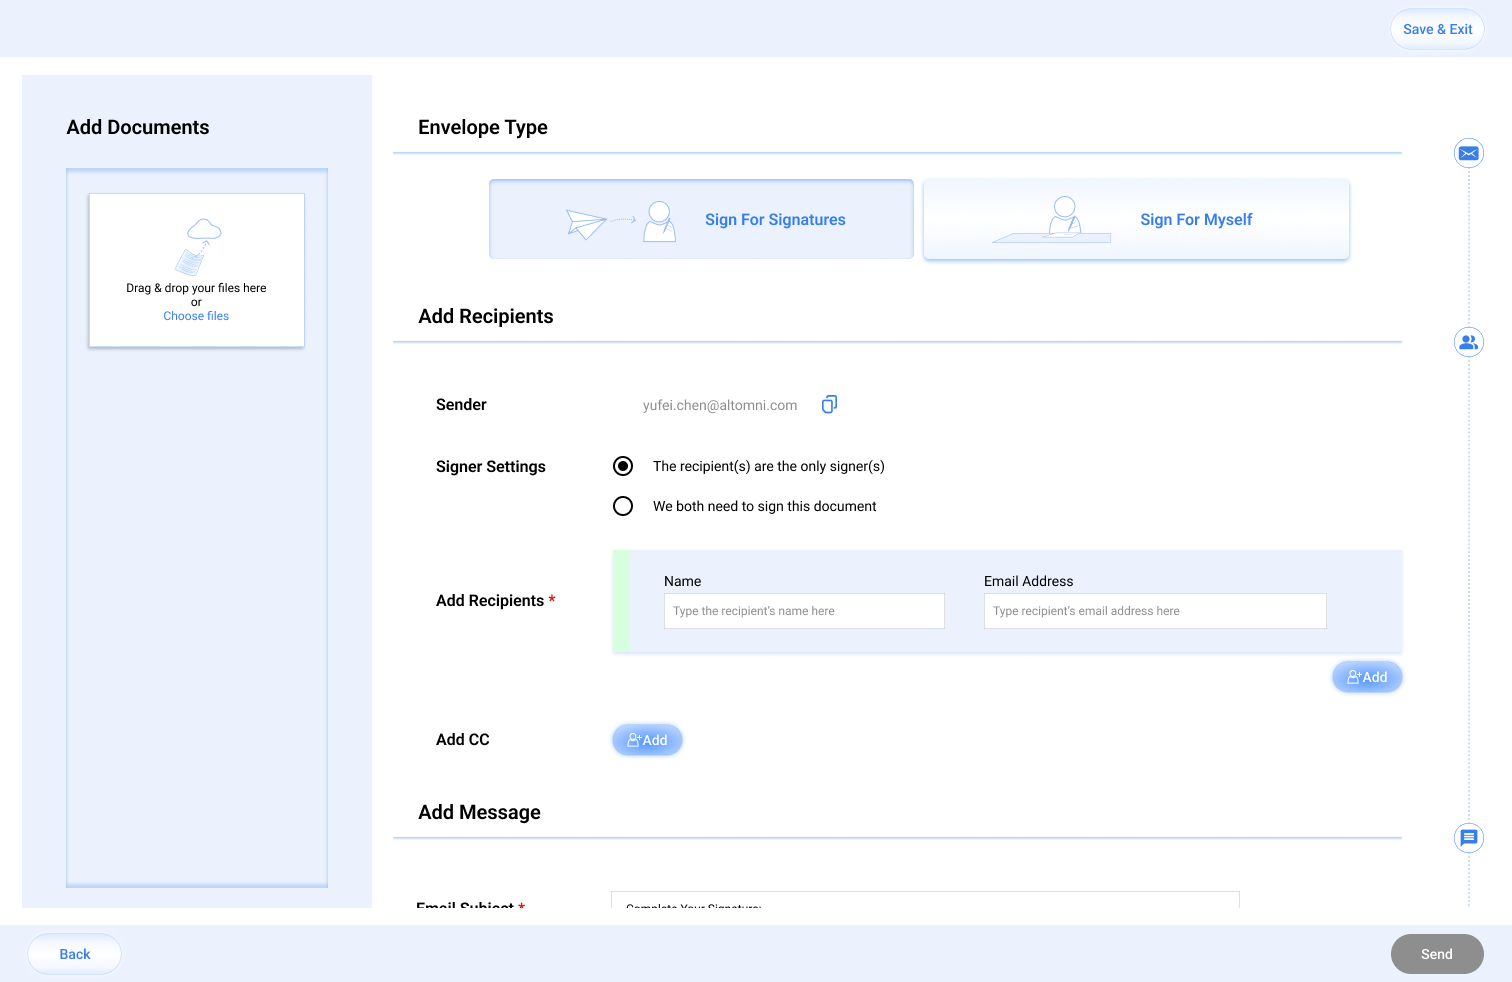
Add Documents
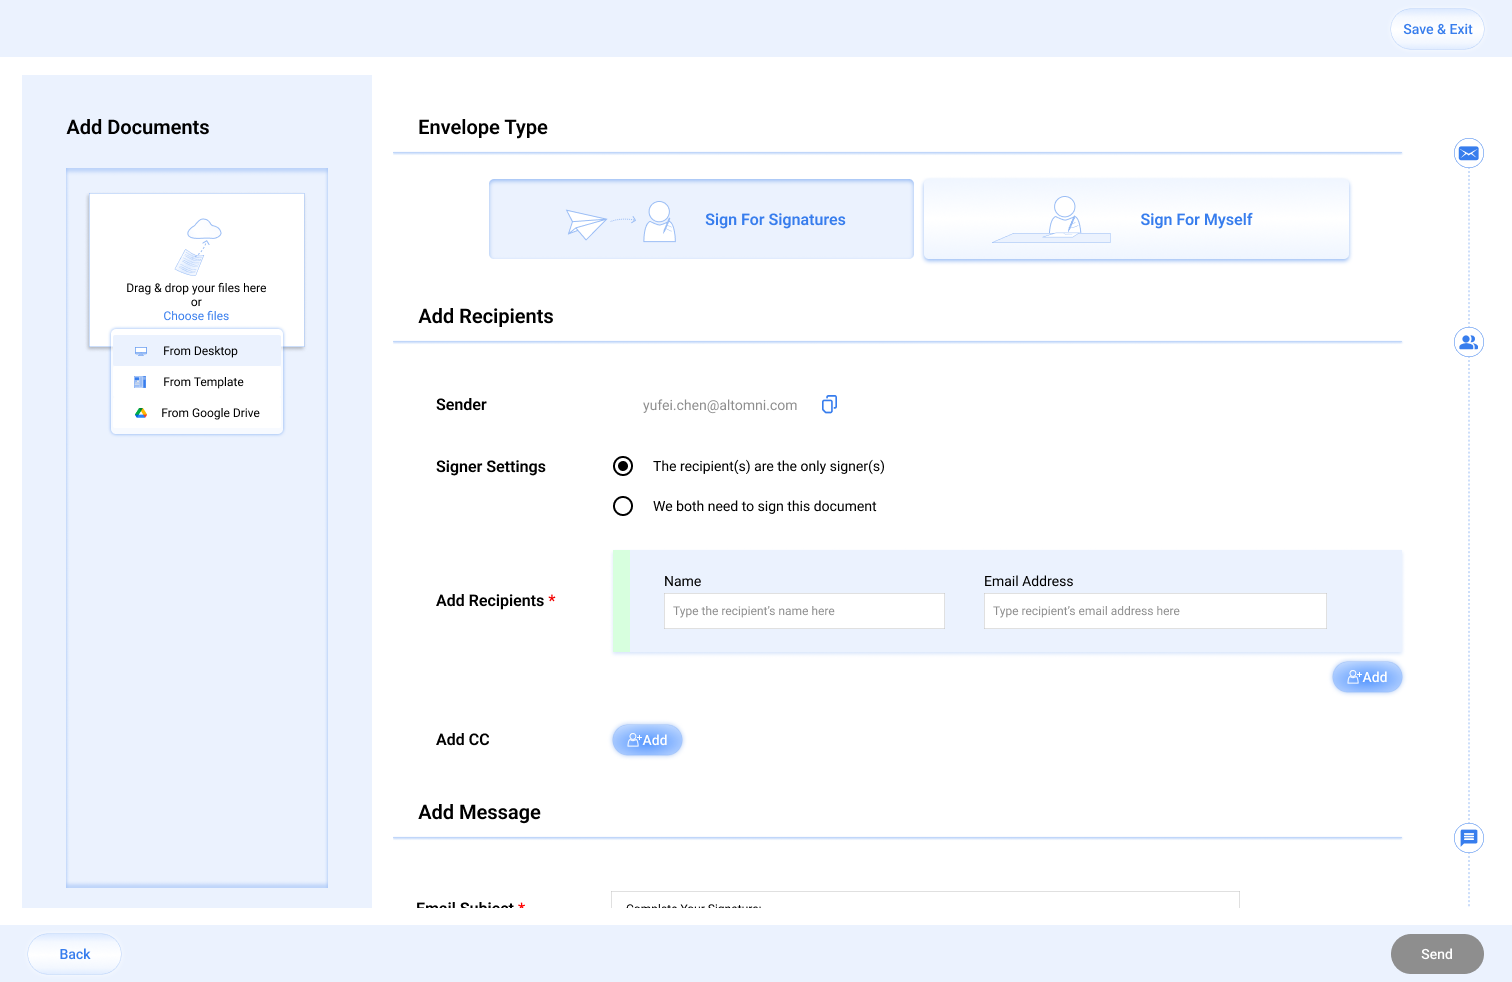
Choose Files
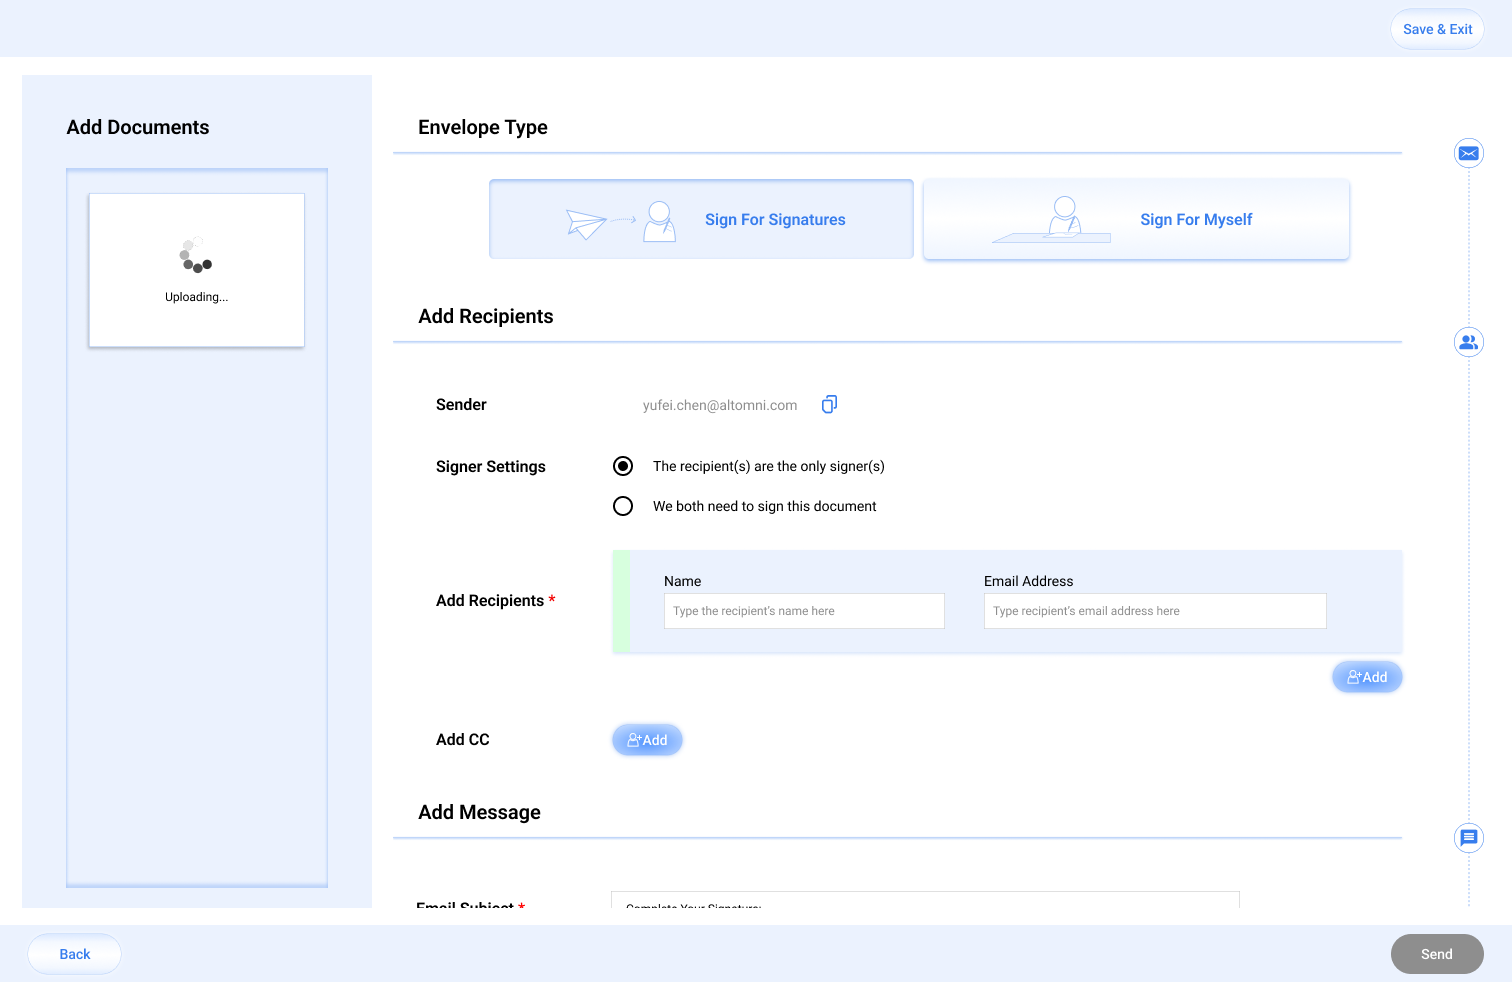
Uploading
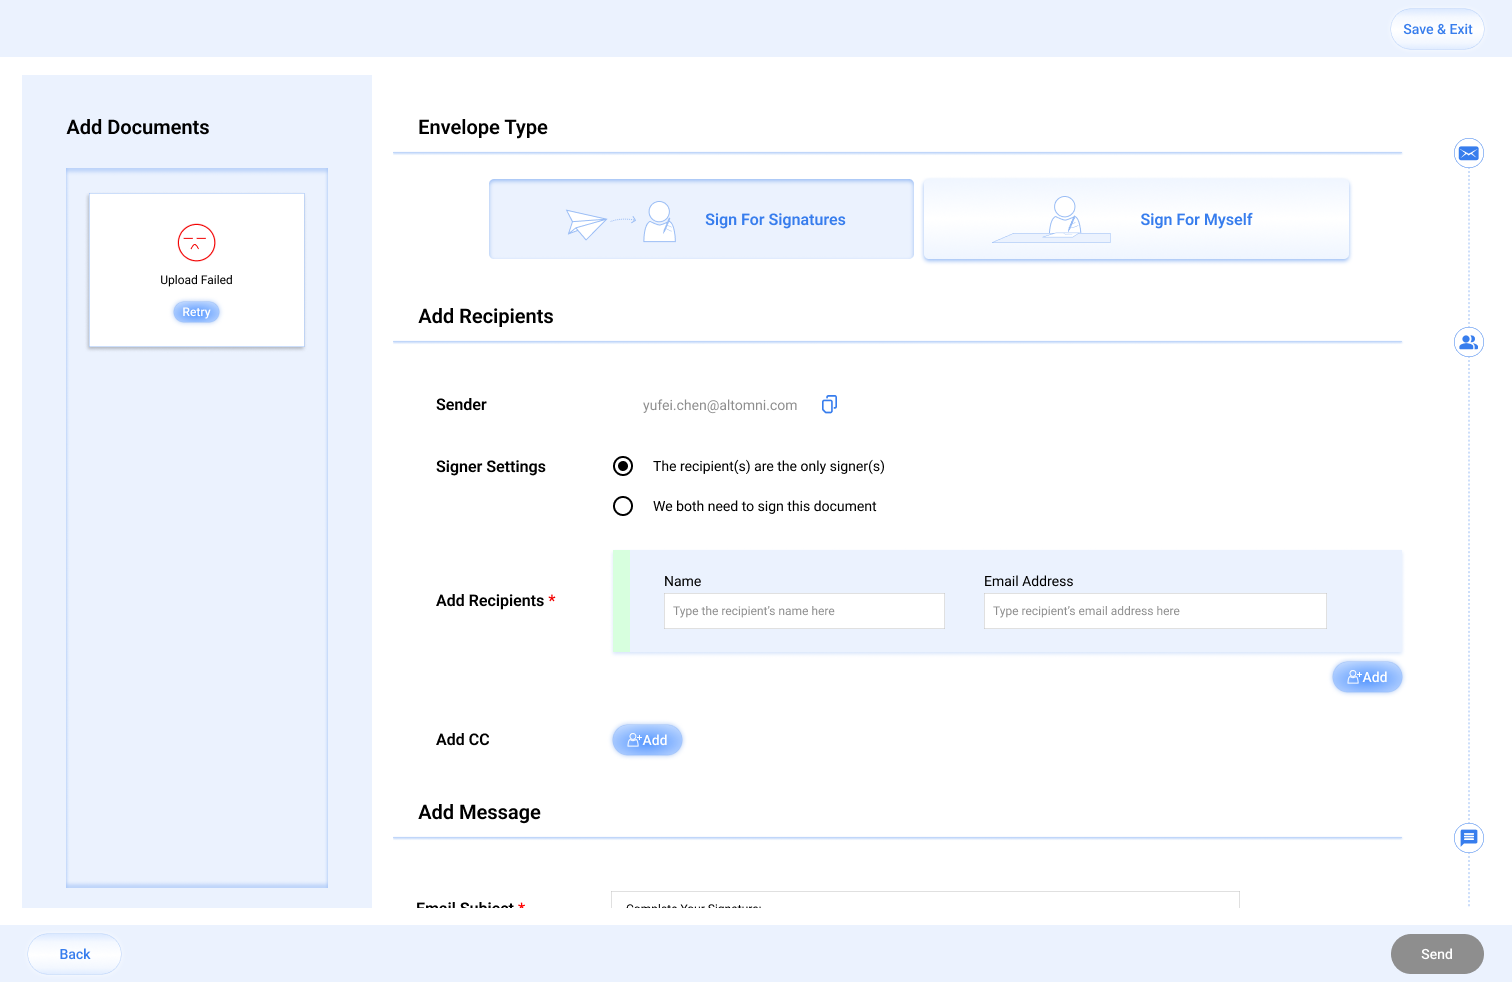
Upload Failed
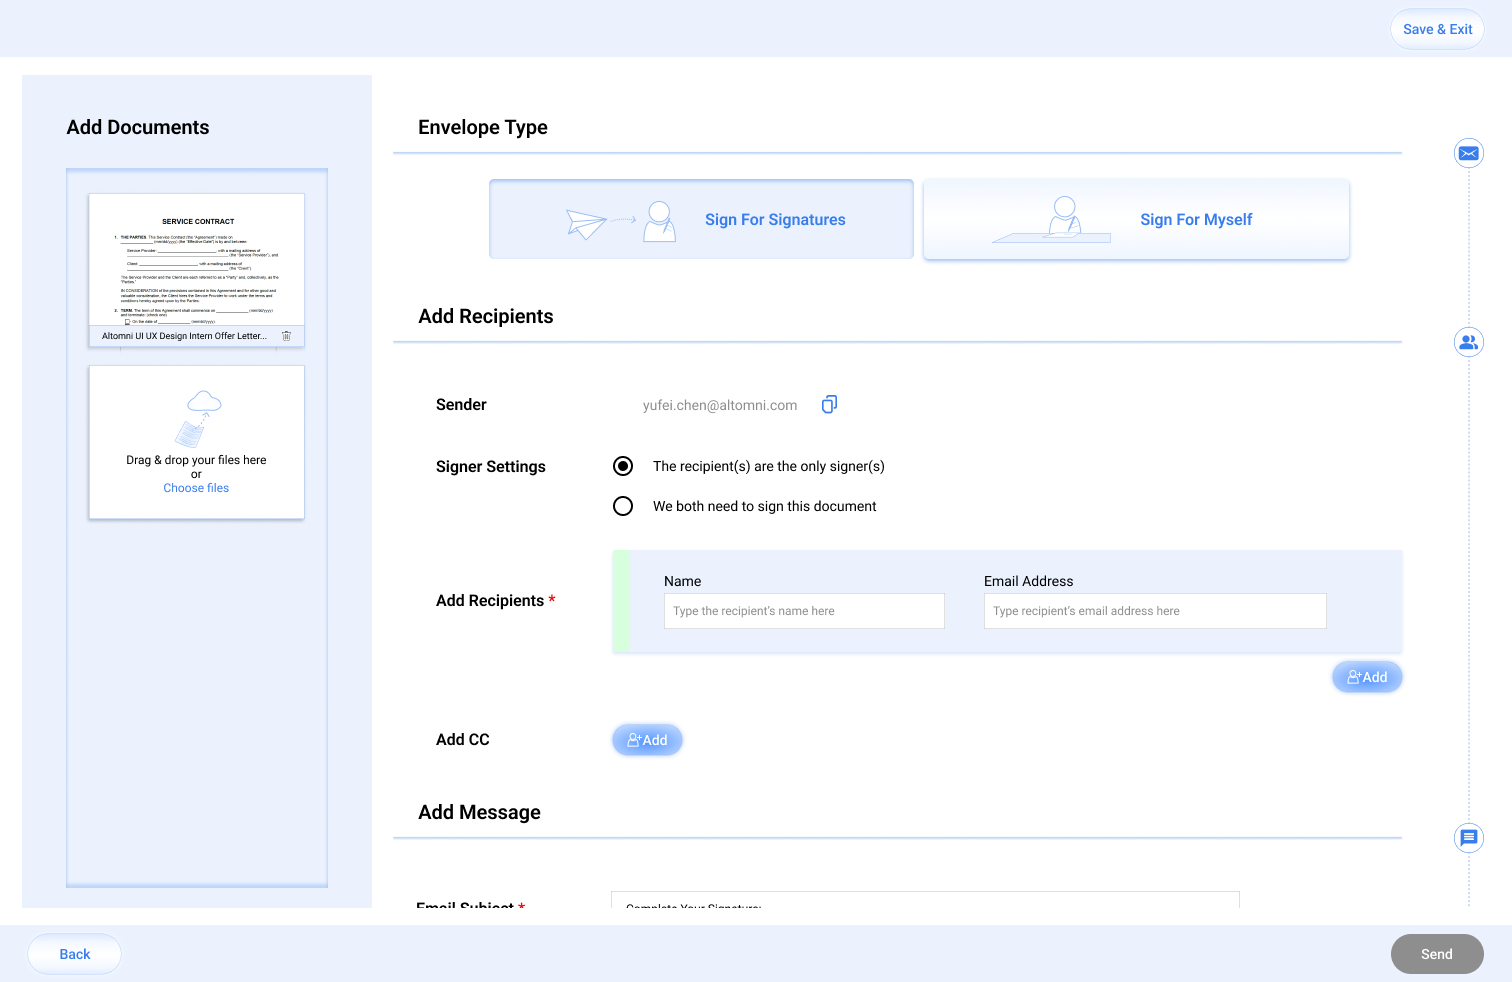
One File
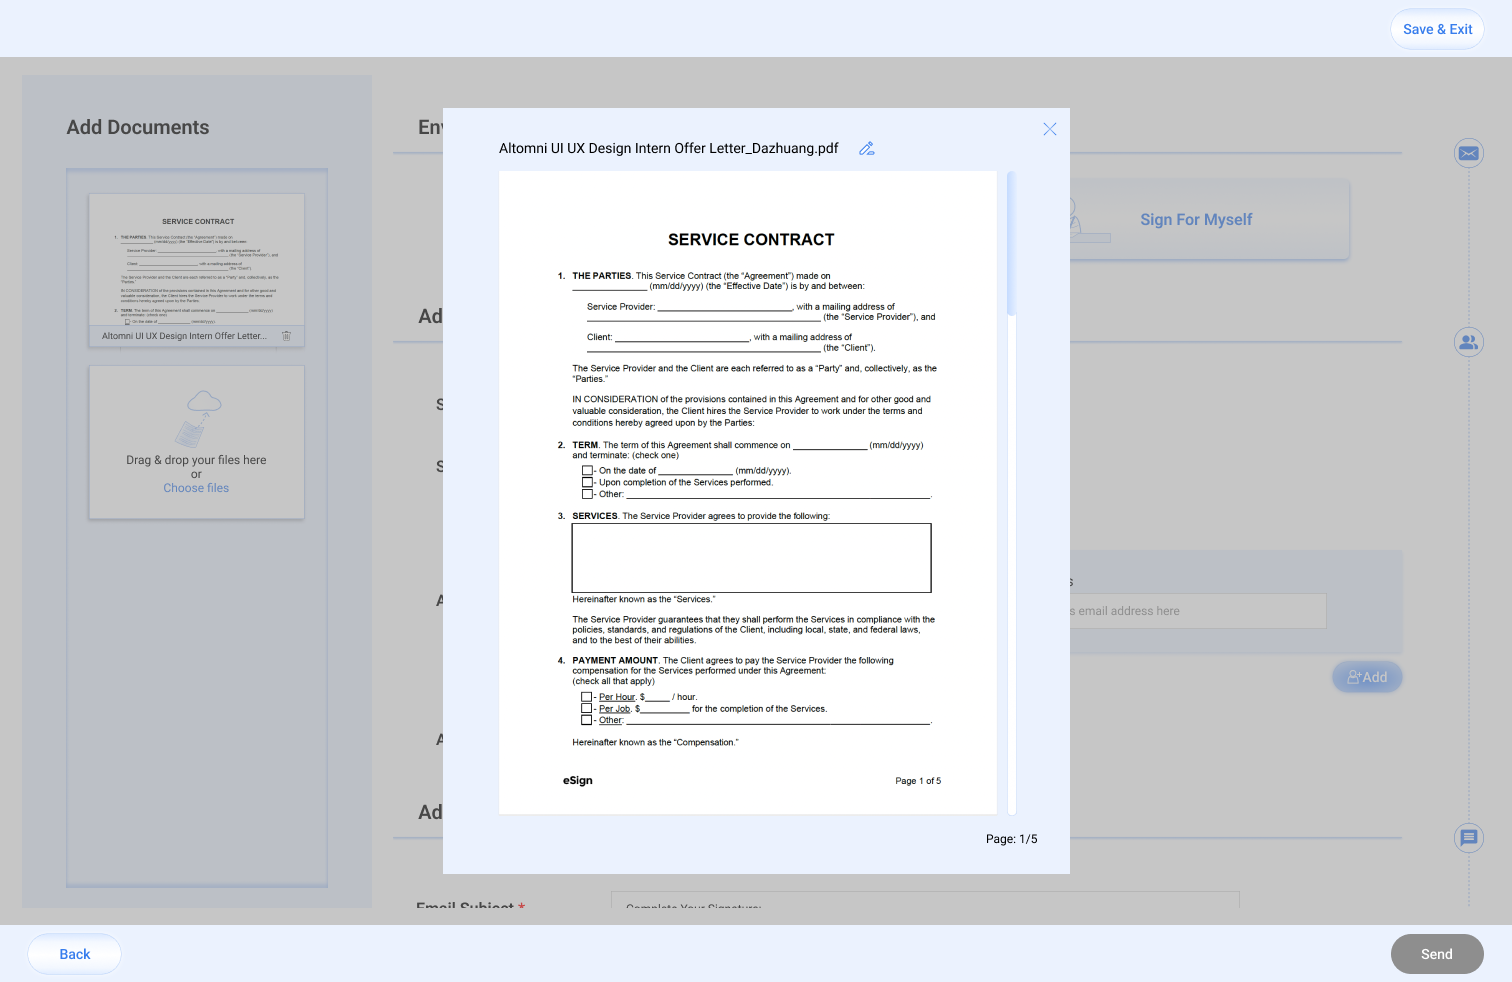
Preview
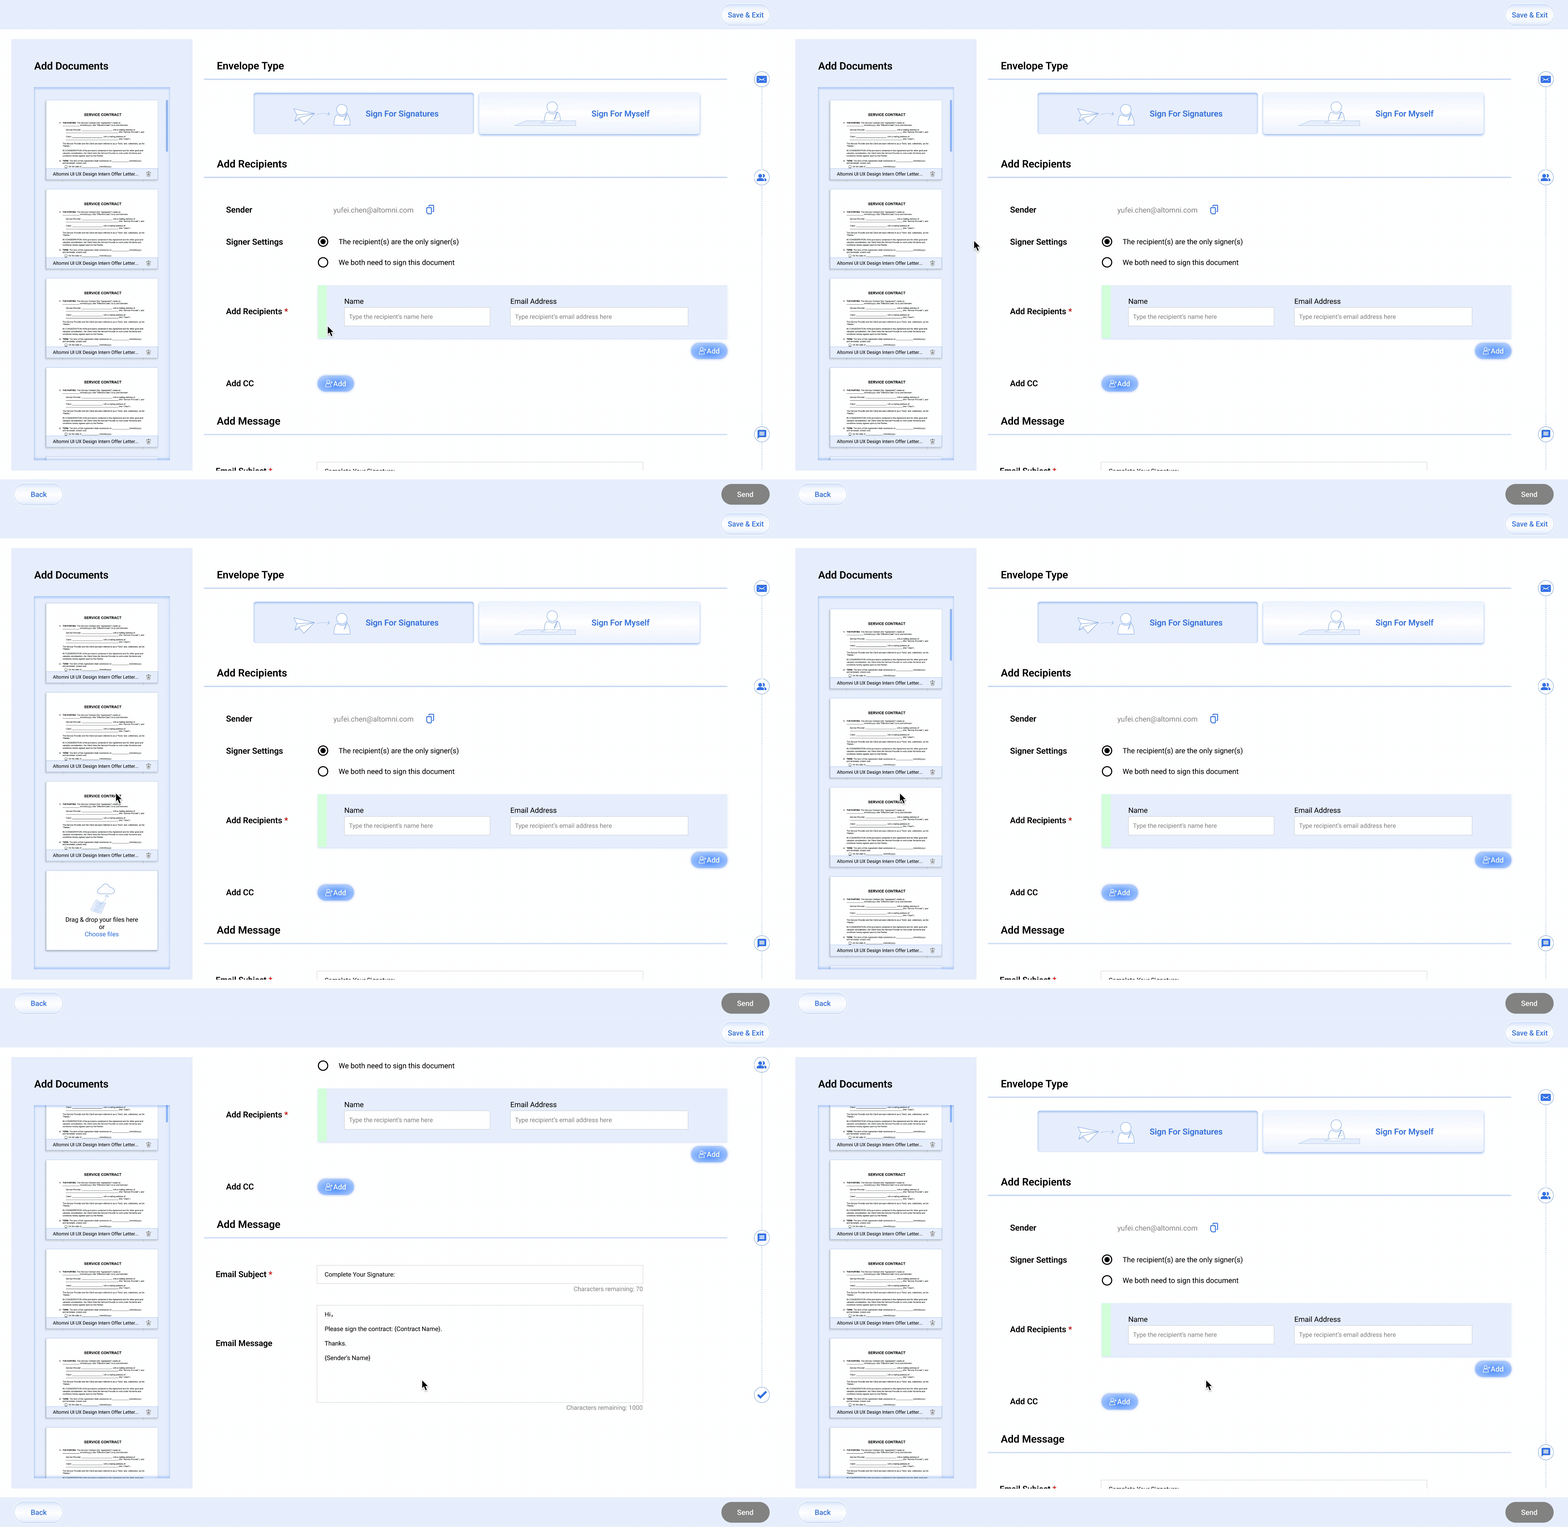
Multiple Files
Pop-up Windows: When Uploaded File Has Already Been Uploaded
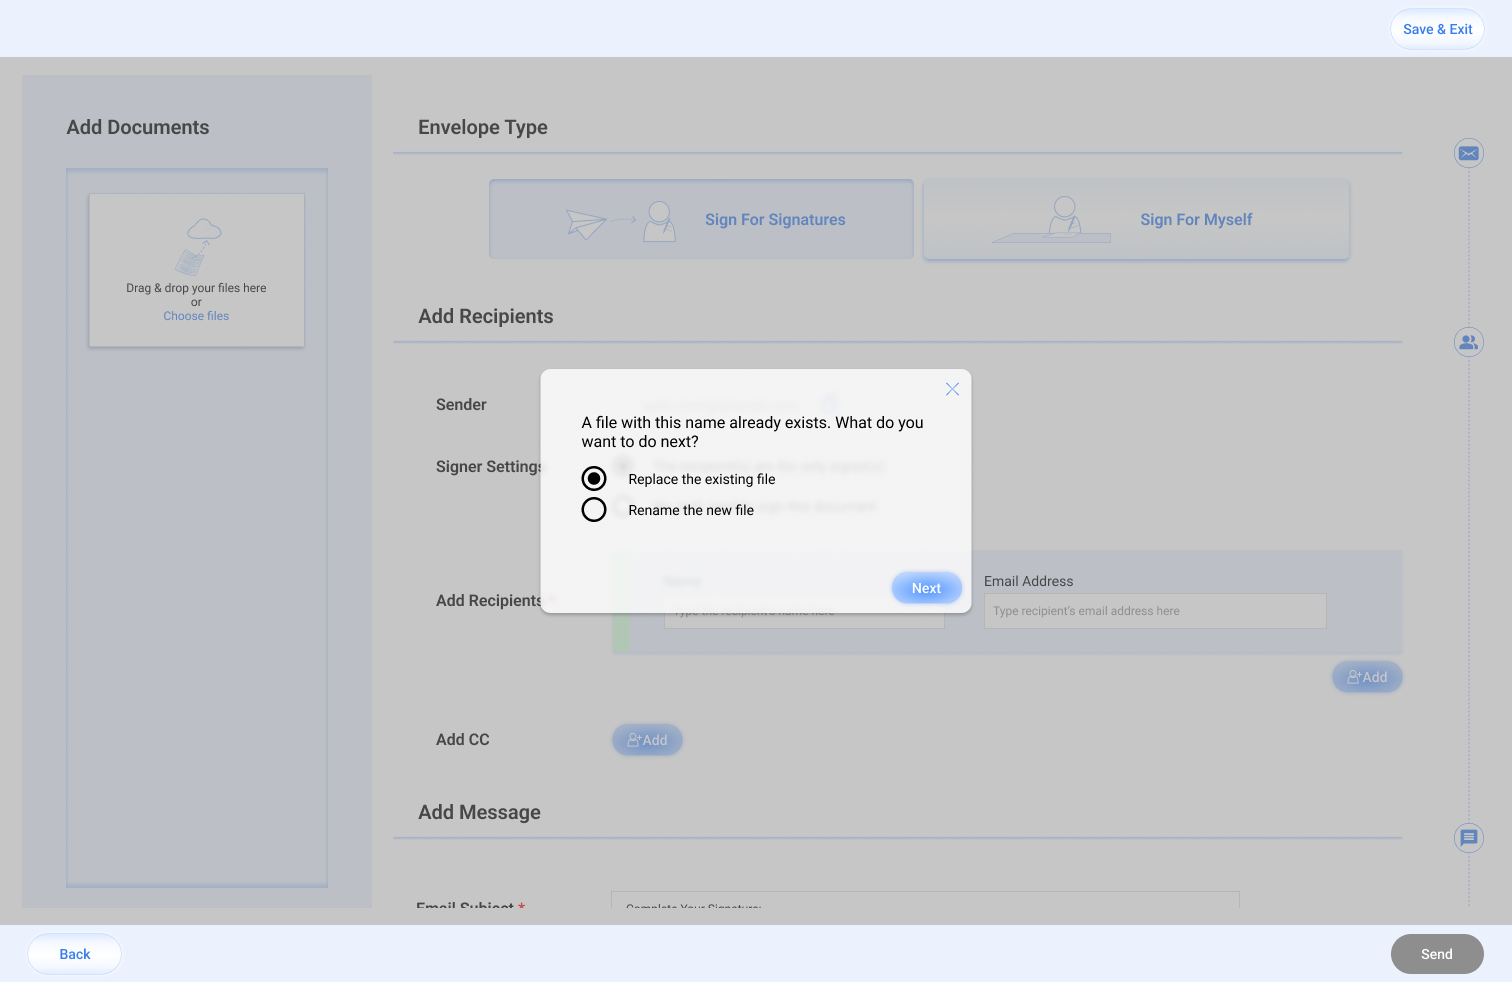
High-Fidelity Preview
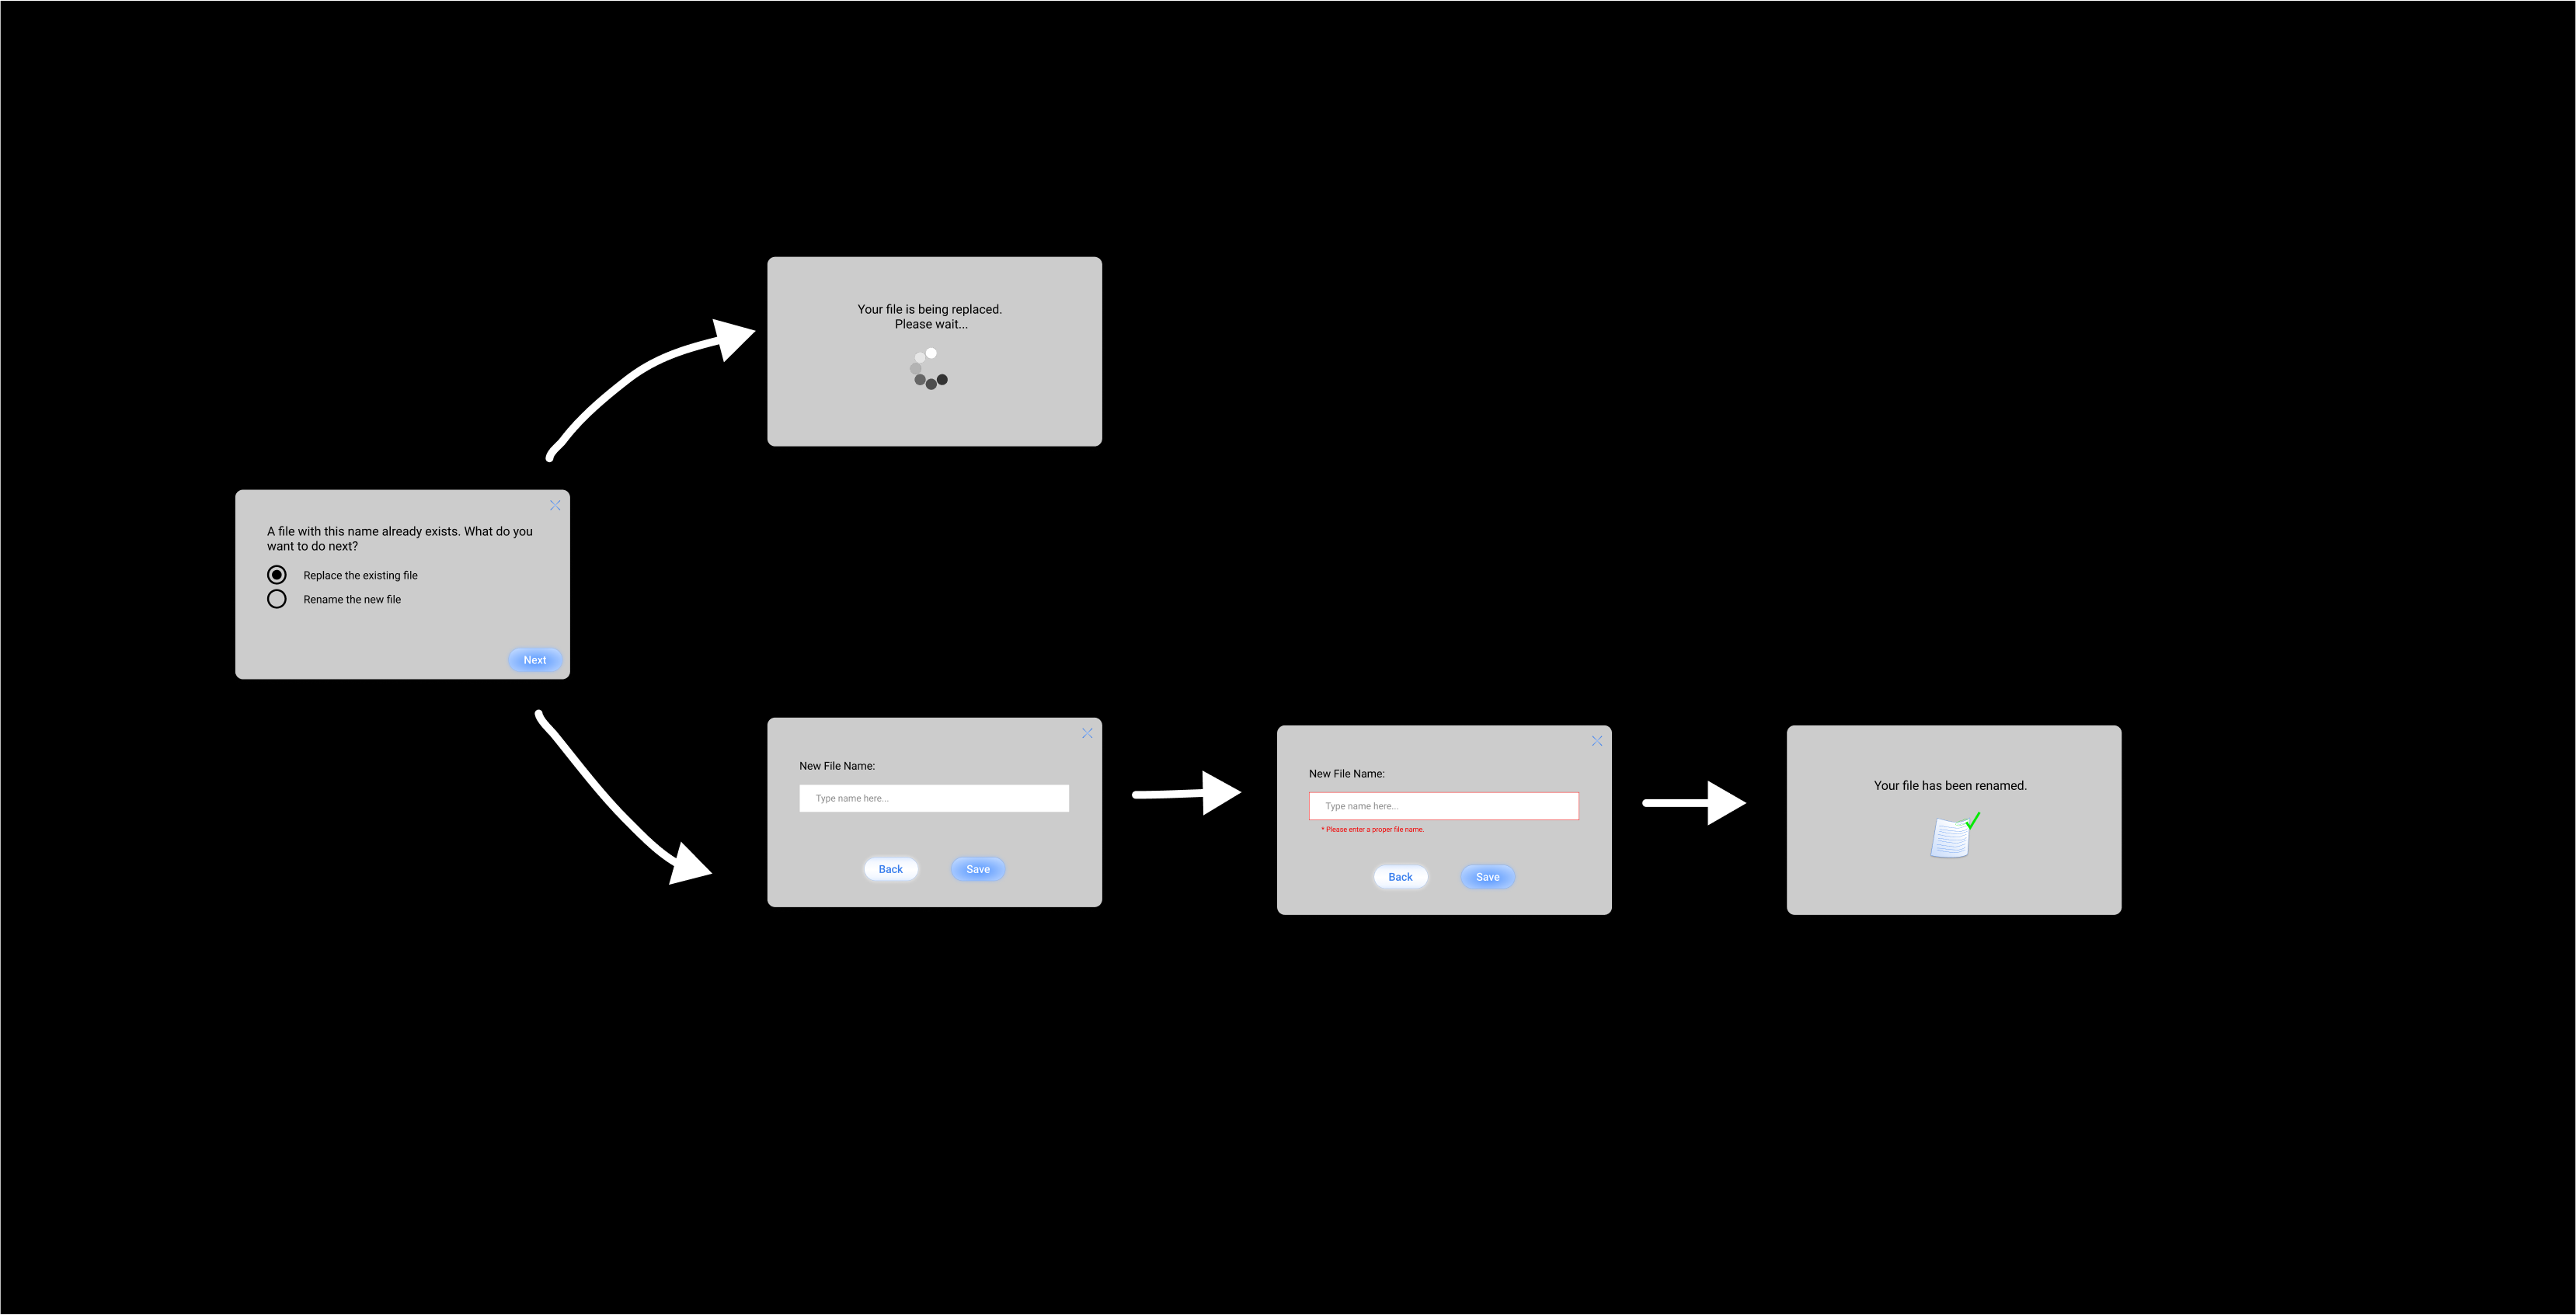
Flow
Pop-up Windows: When User Is Trying To Exit The "Add Document" Session
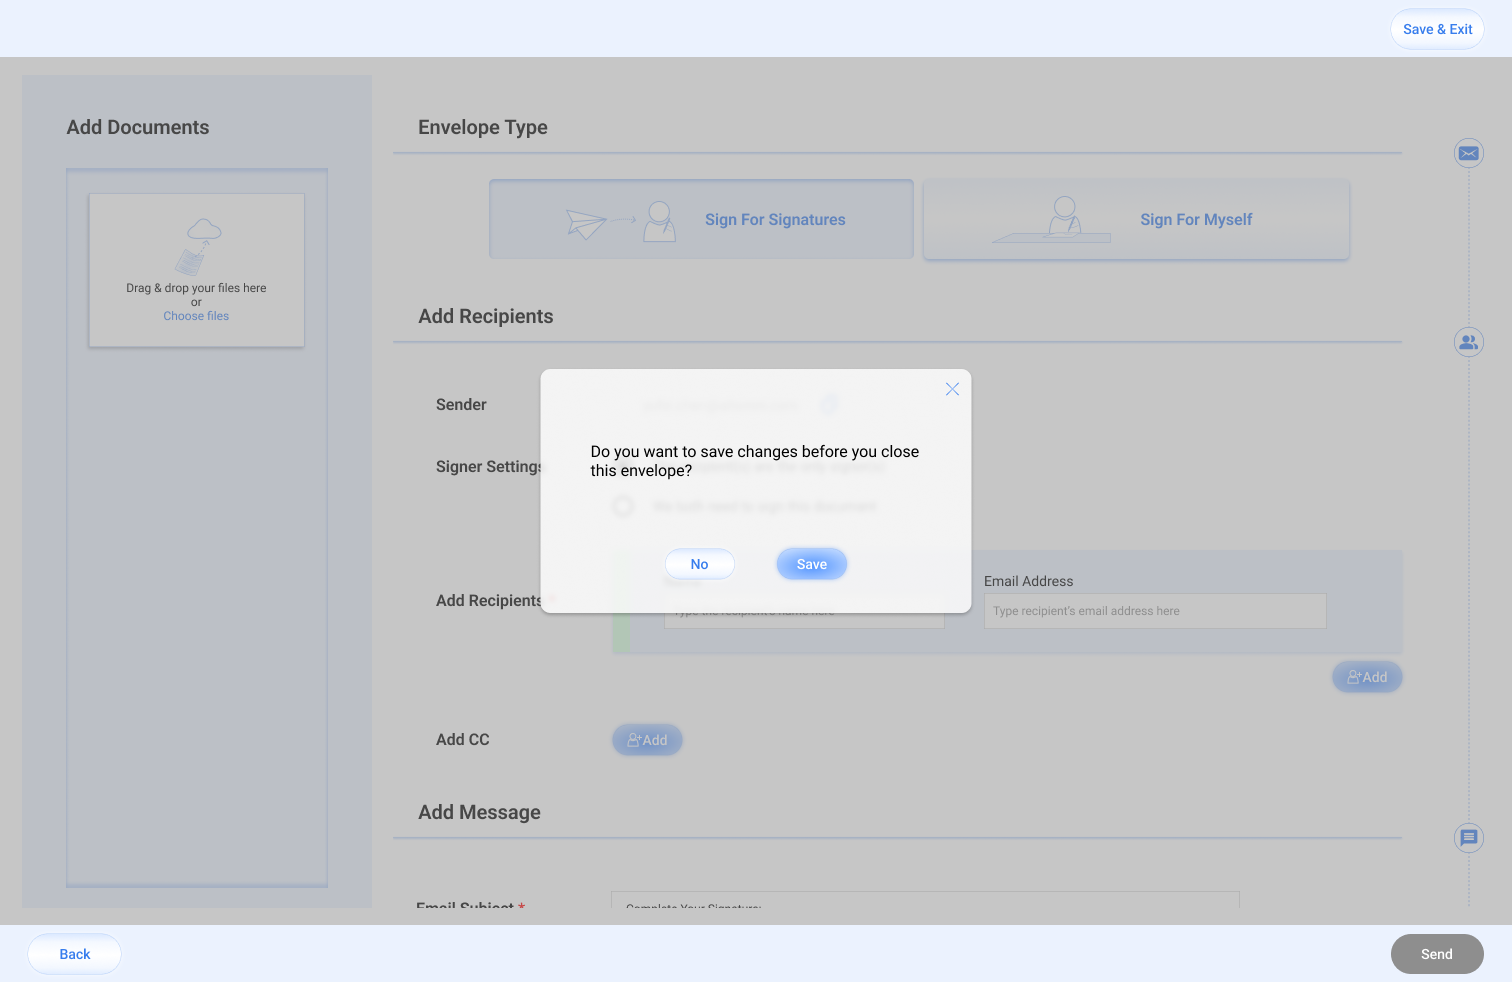
High-Fidelity Preview

Flow
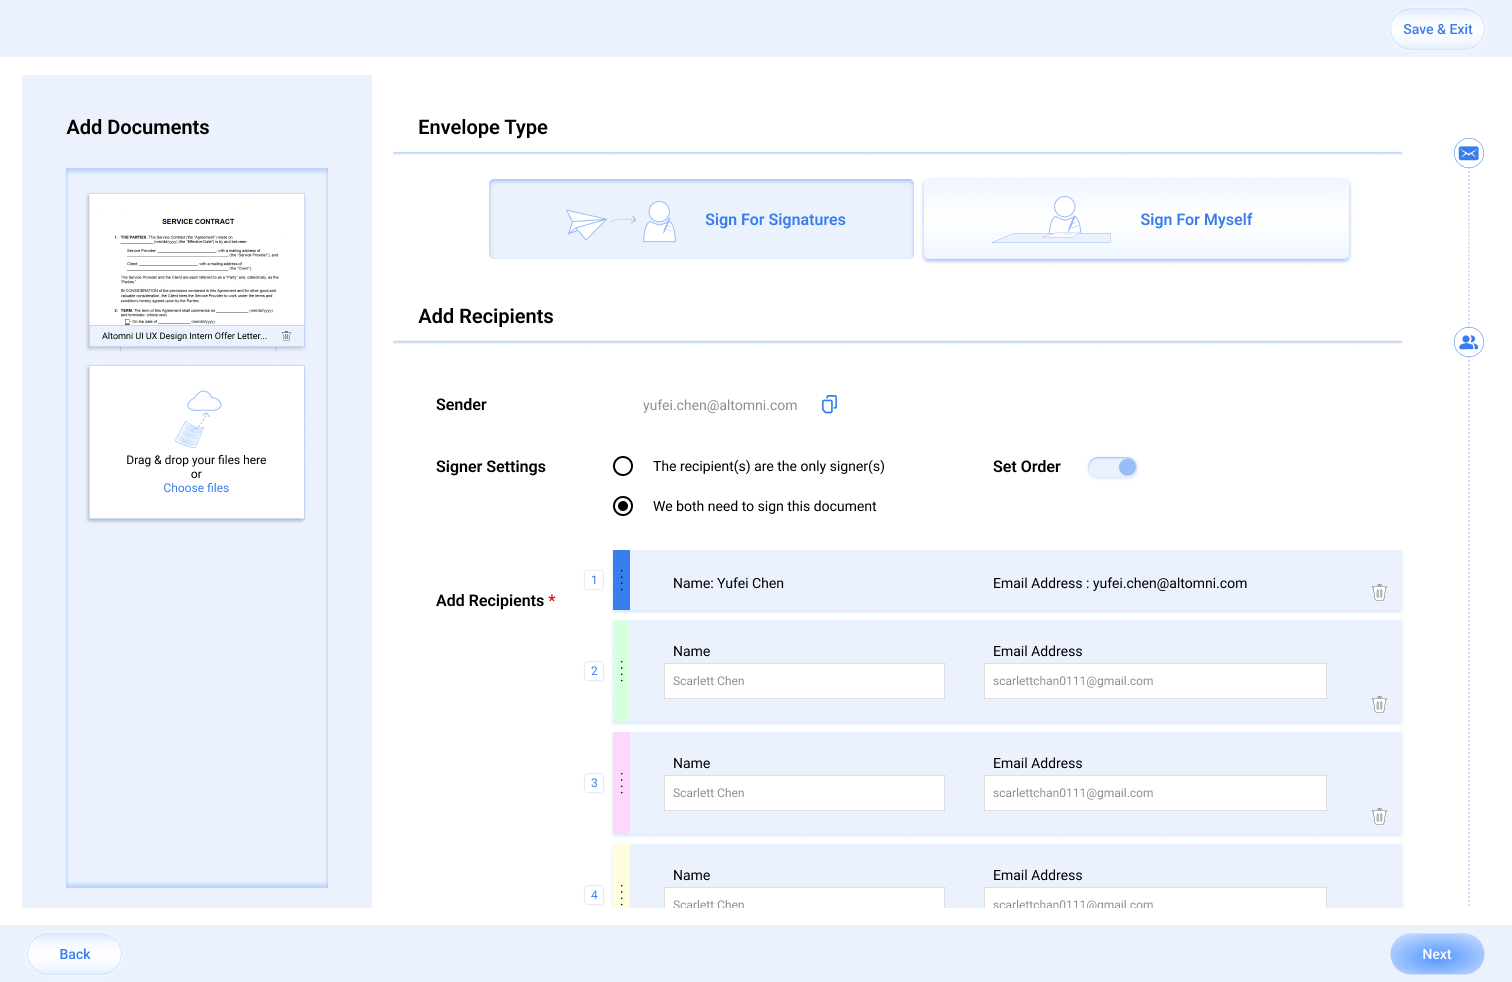
Add Recipients
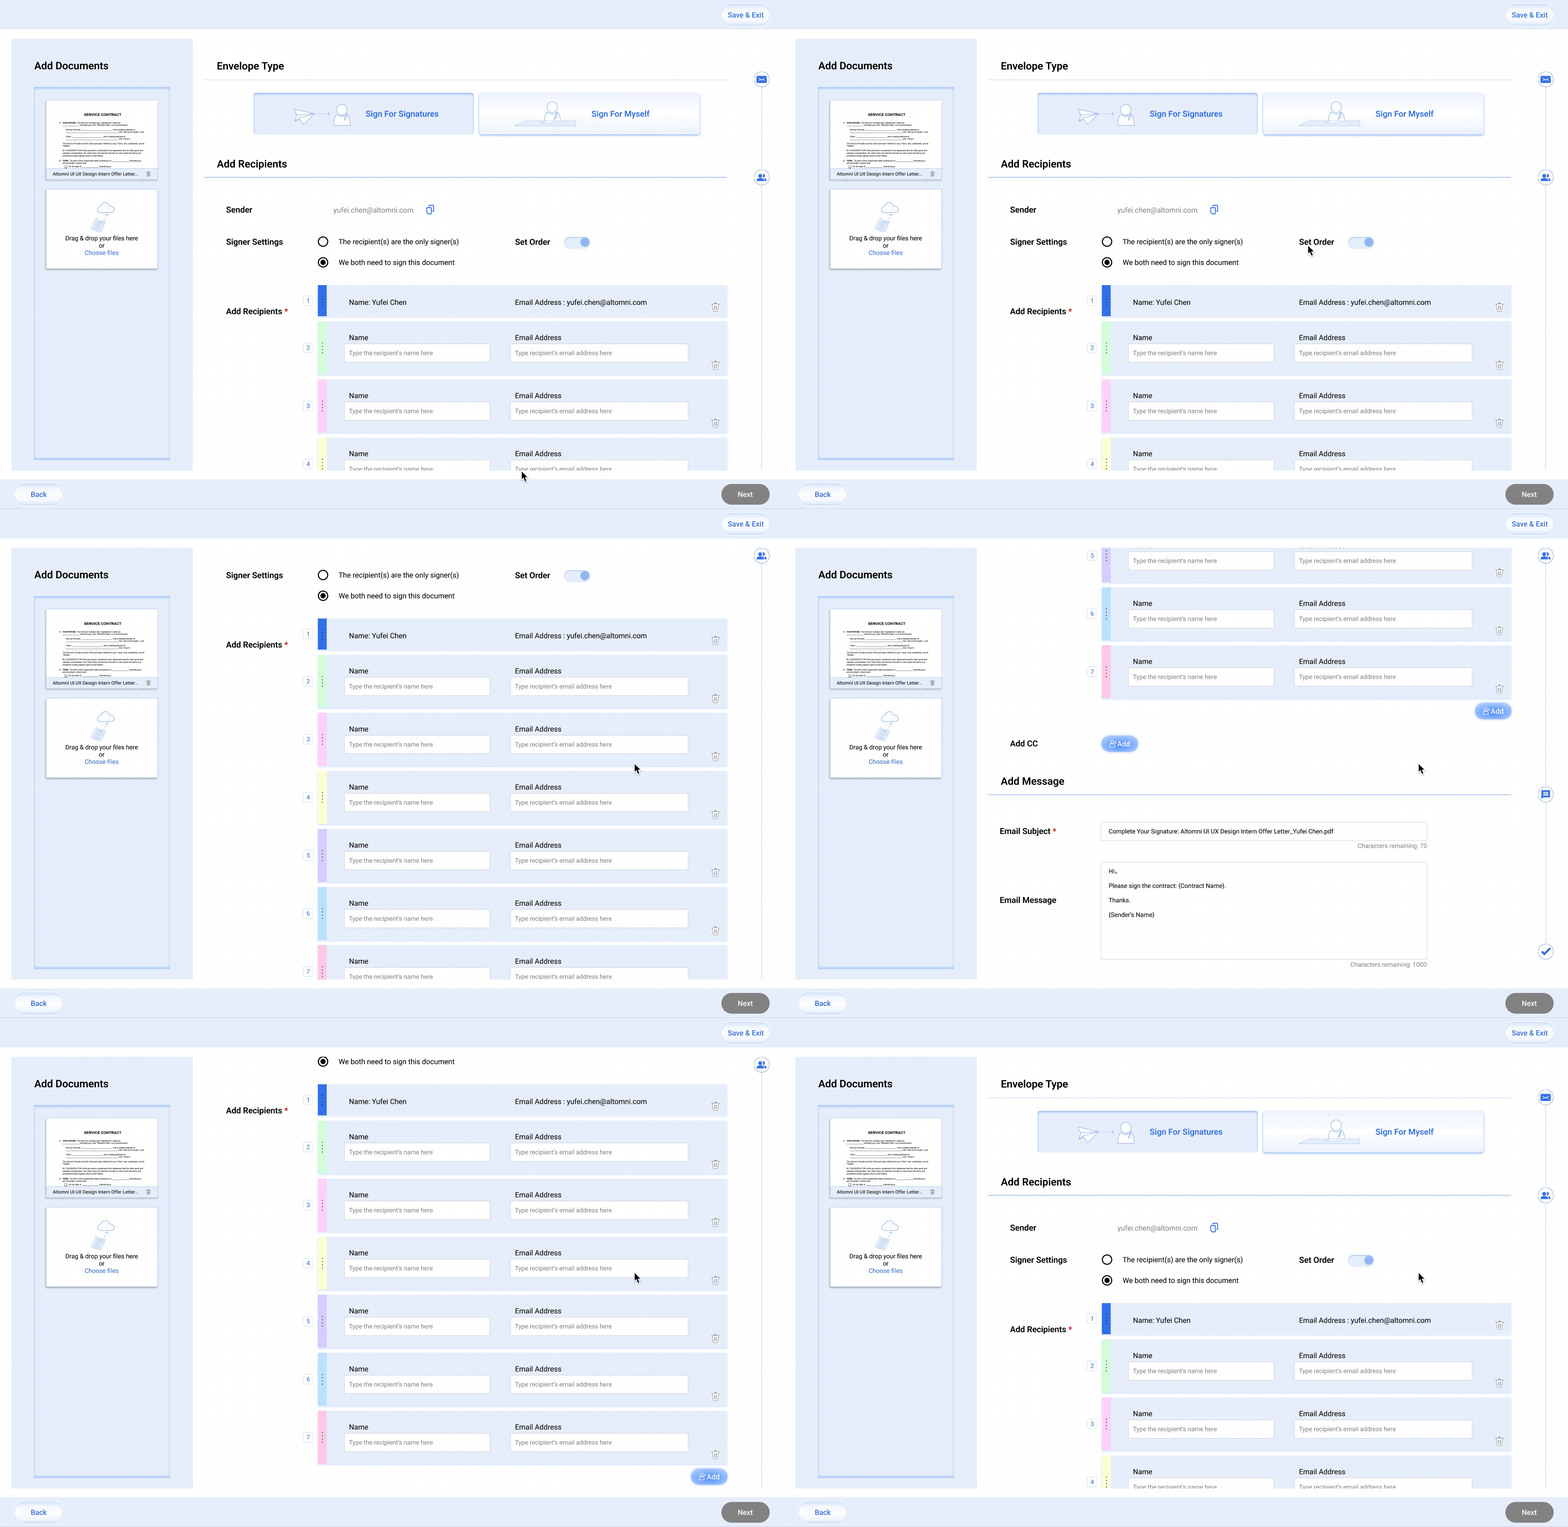
When adding recipients, the sender is required to choose one of the options: setting recipient(s) to be the only signer(s) or both sides need to sign. Each option leads to different interface settings for the following sections.
Send Envelope For Others To Sign: The Recipient(s) Are The Only Signer(s)
● When recipients are the only signers, if only 1 recipient is added, the "Set Order" switch bar is hidden, meaning there's no need for setting order at this point.
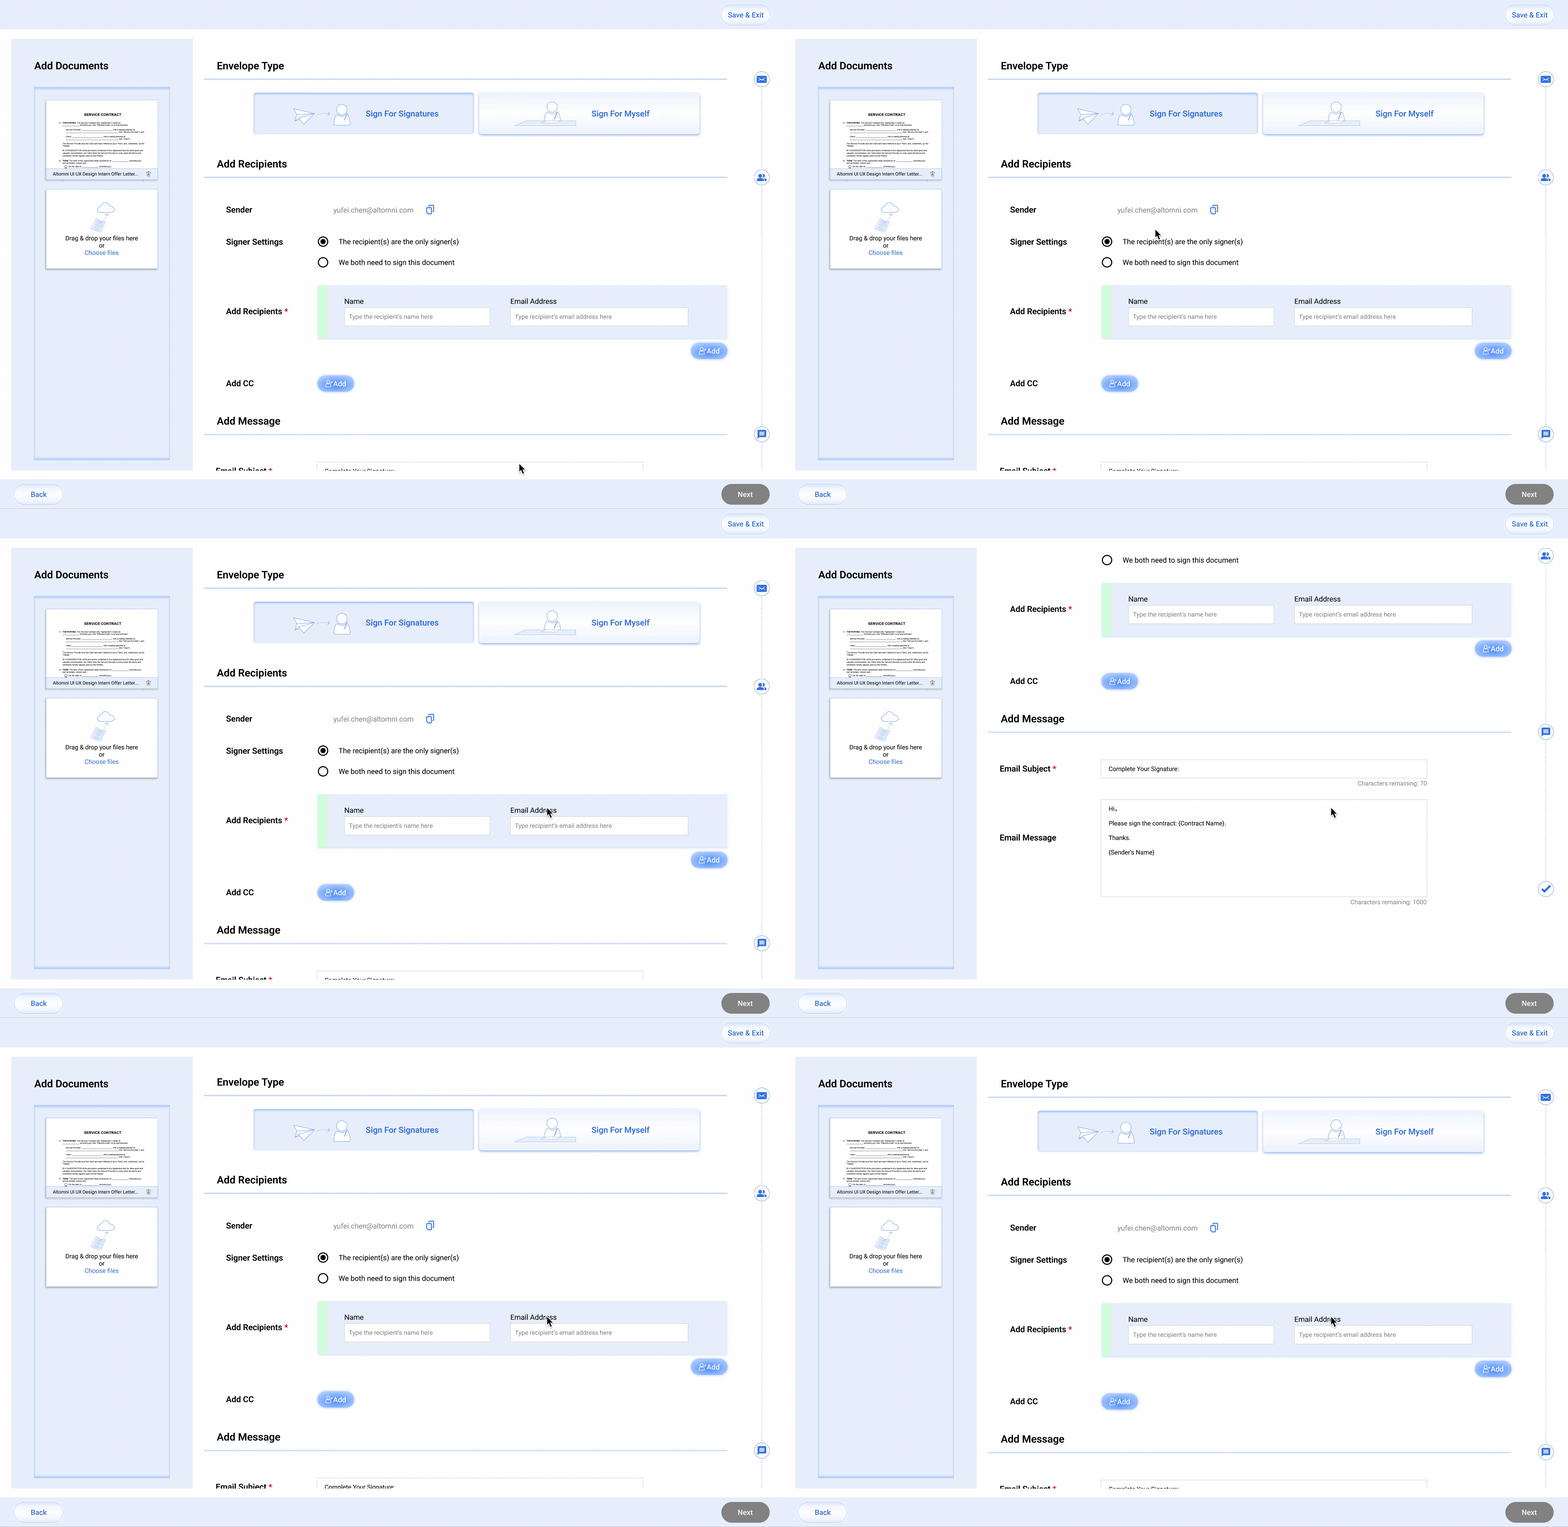
● When recipients are the only signers, if multiple recipients are added, the "Set Order" switch bar is shown, allowing senders to set signing order for the recipients. If choosing "No Order", there will be no number label shown for the recipients.
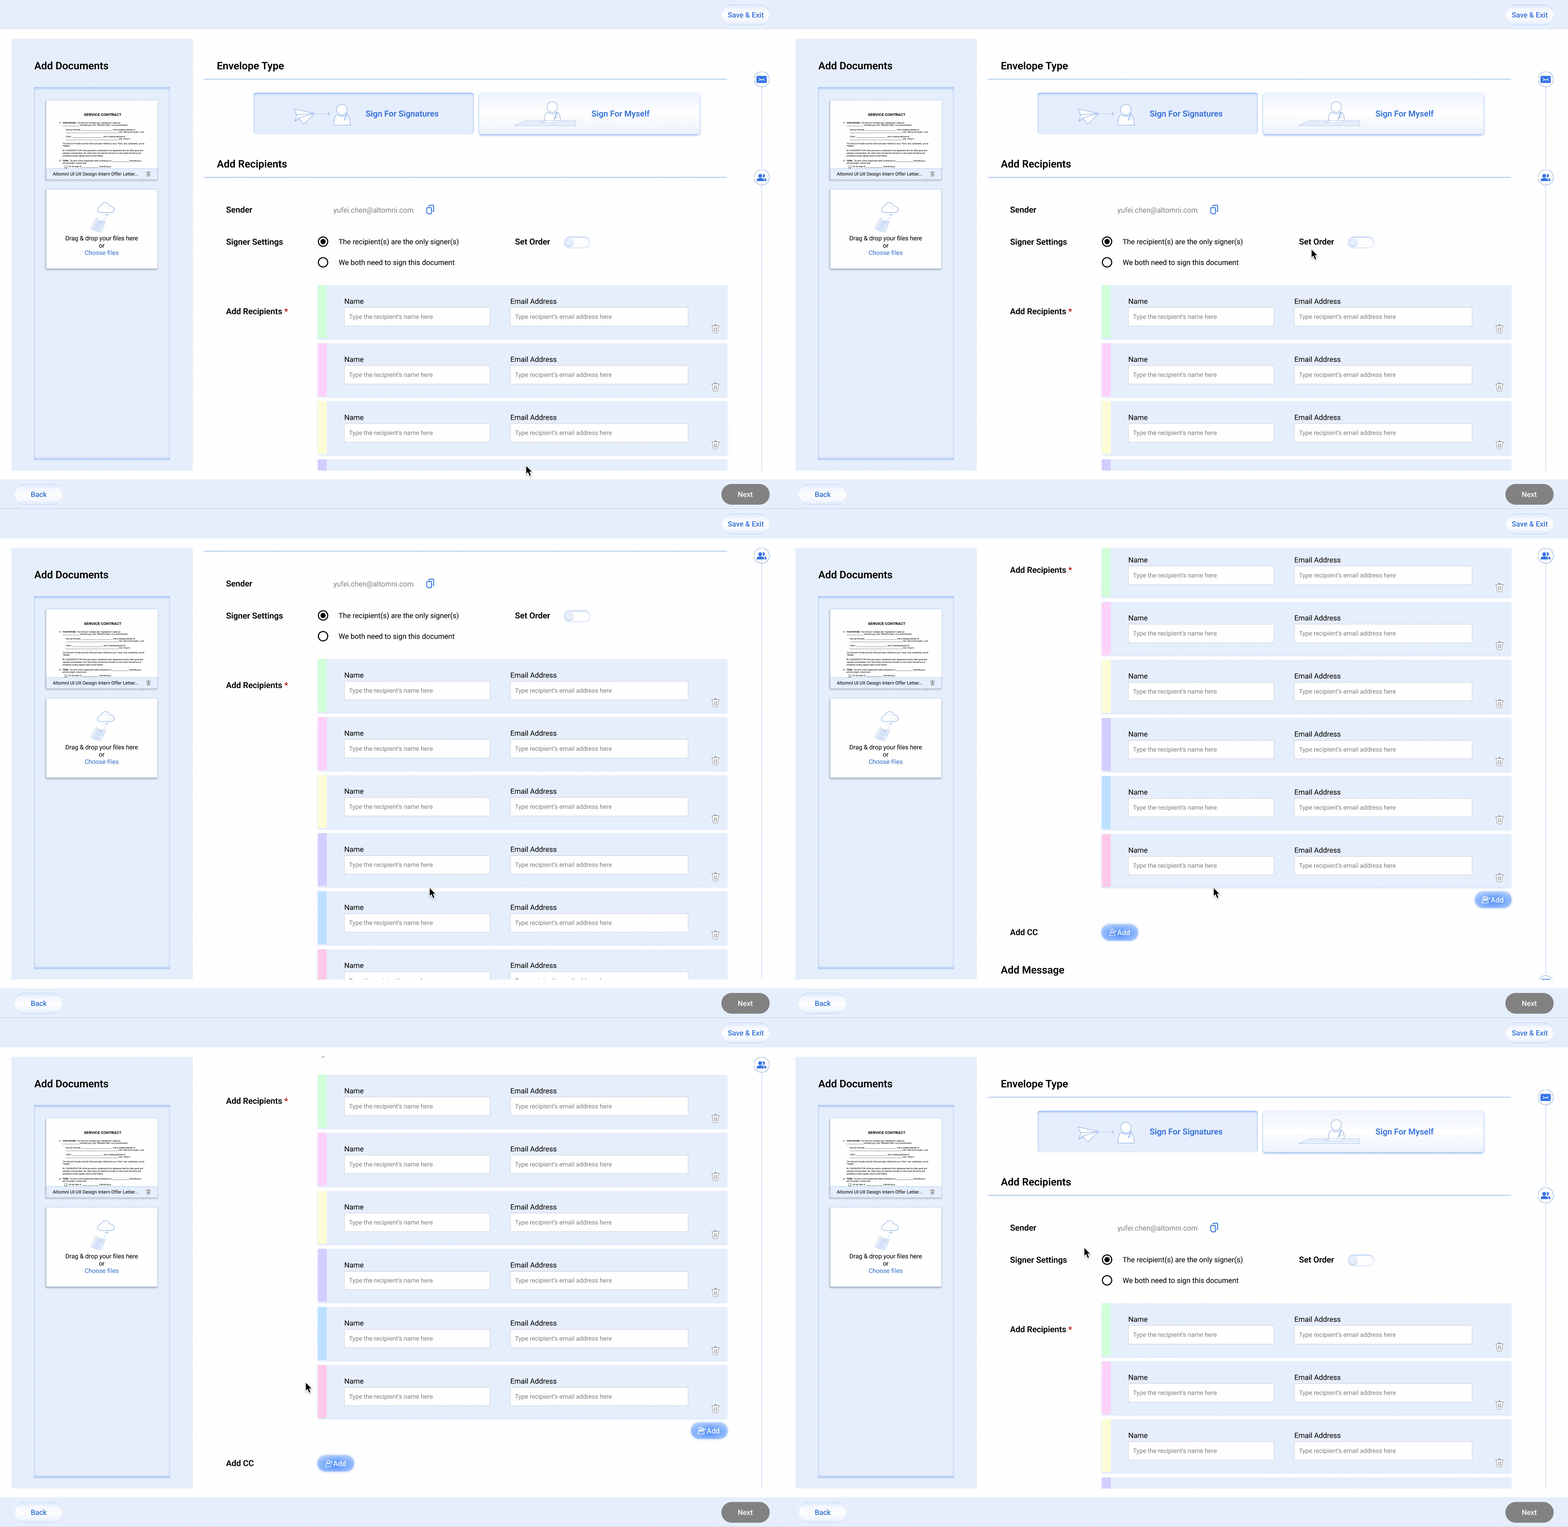
● When multiple recipients are added, and "Set Order" is chosen, the number labels will show on the left side of each recipient's name box, allowing sender to drag the boxes to adjust signing order.
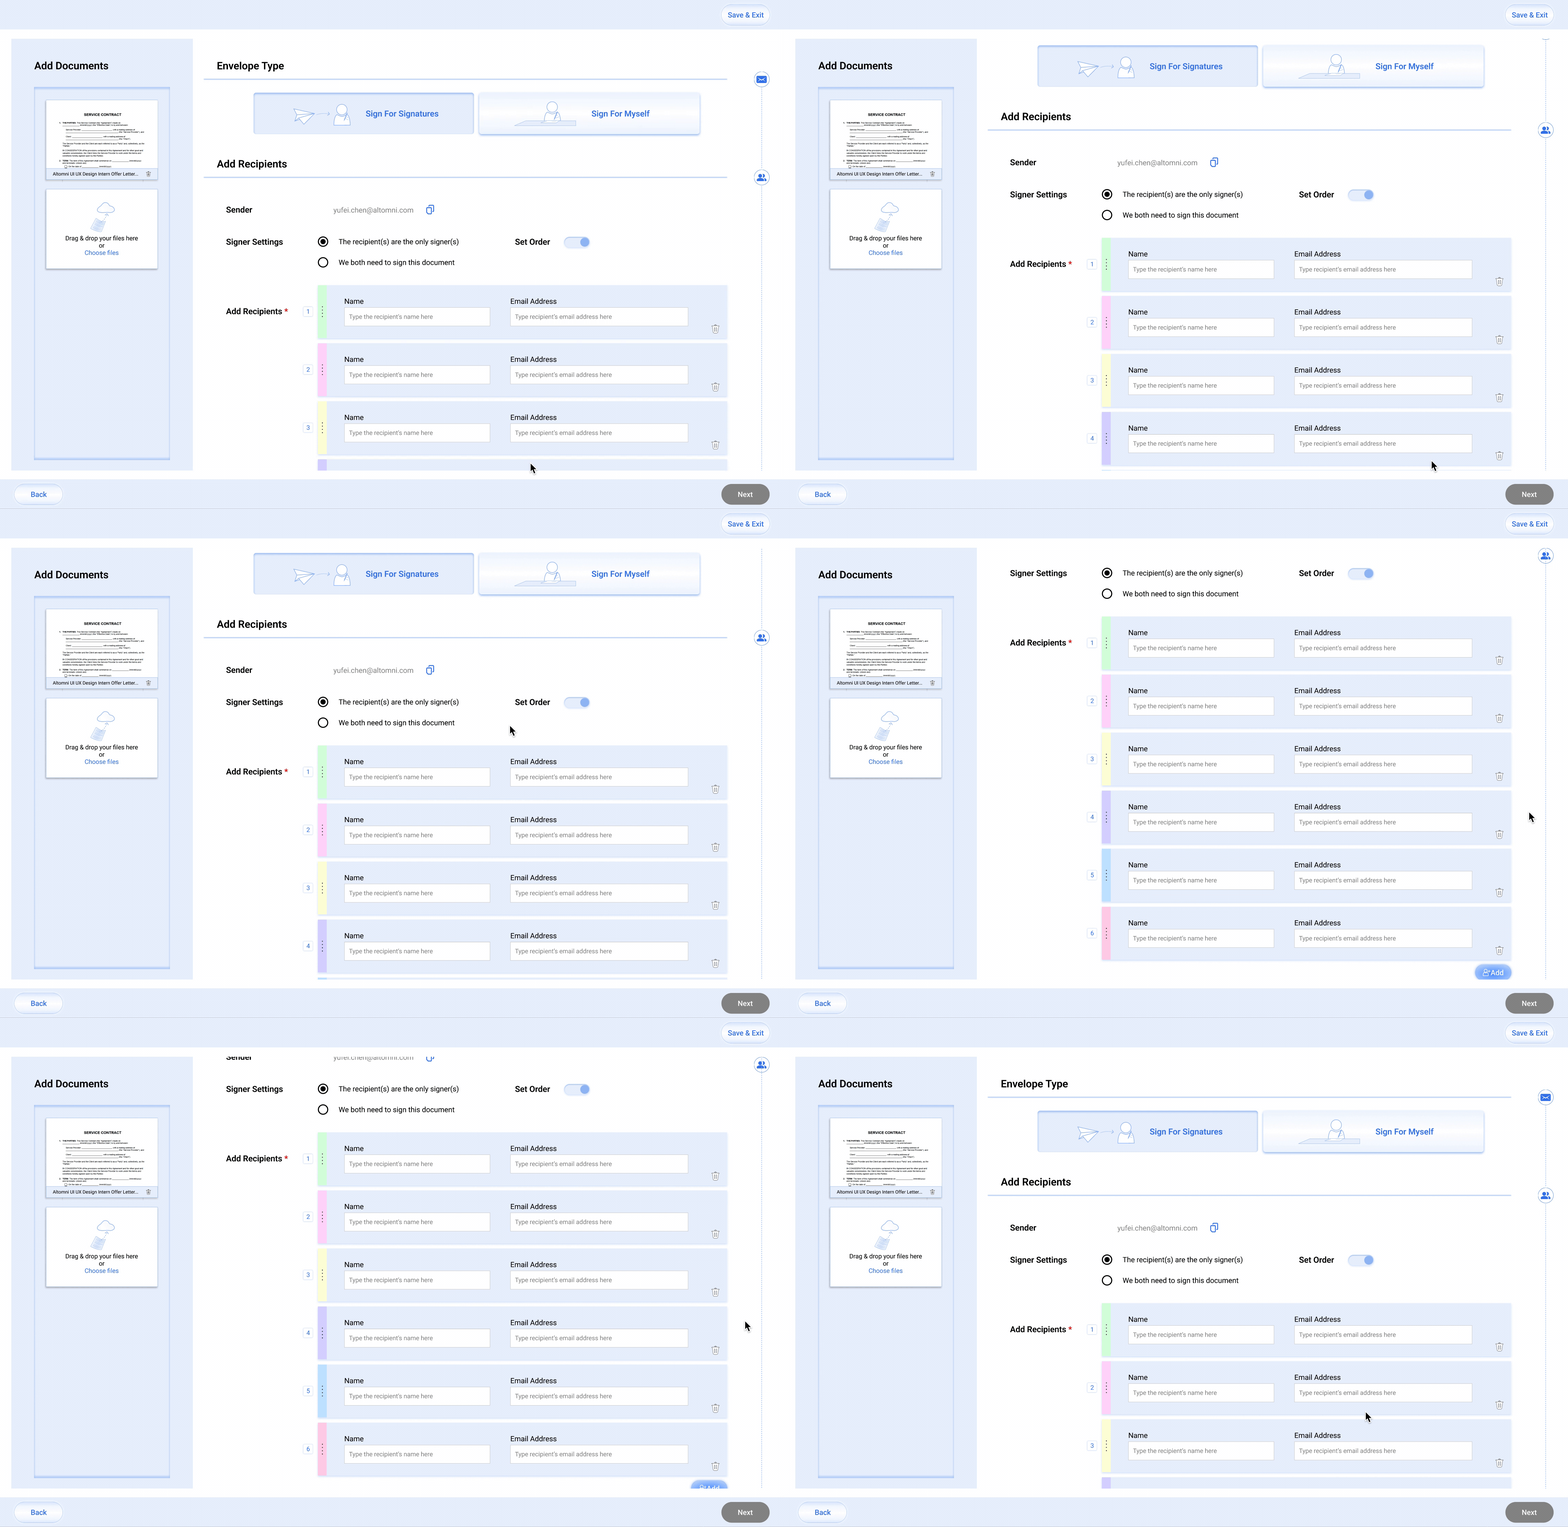
Send Envelope For Others To Sign: Both Sender And Recipient(s) Need To Sign
● When sender and recipients both need to sign, the "Set Order" switch bar is always shown. If only 1 recipient is added, and "Set Order" switch is off, the sender's name box is hidden. As there's no need to switch order, hiding the sender's name makes the interface more succinct.
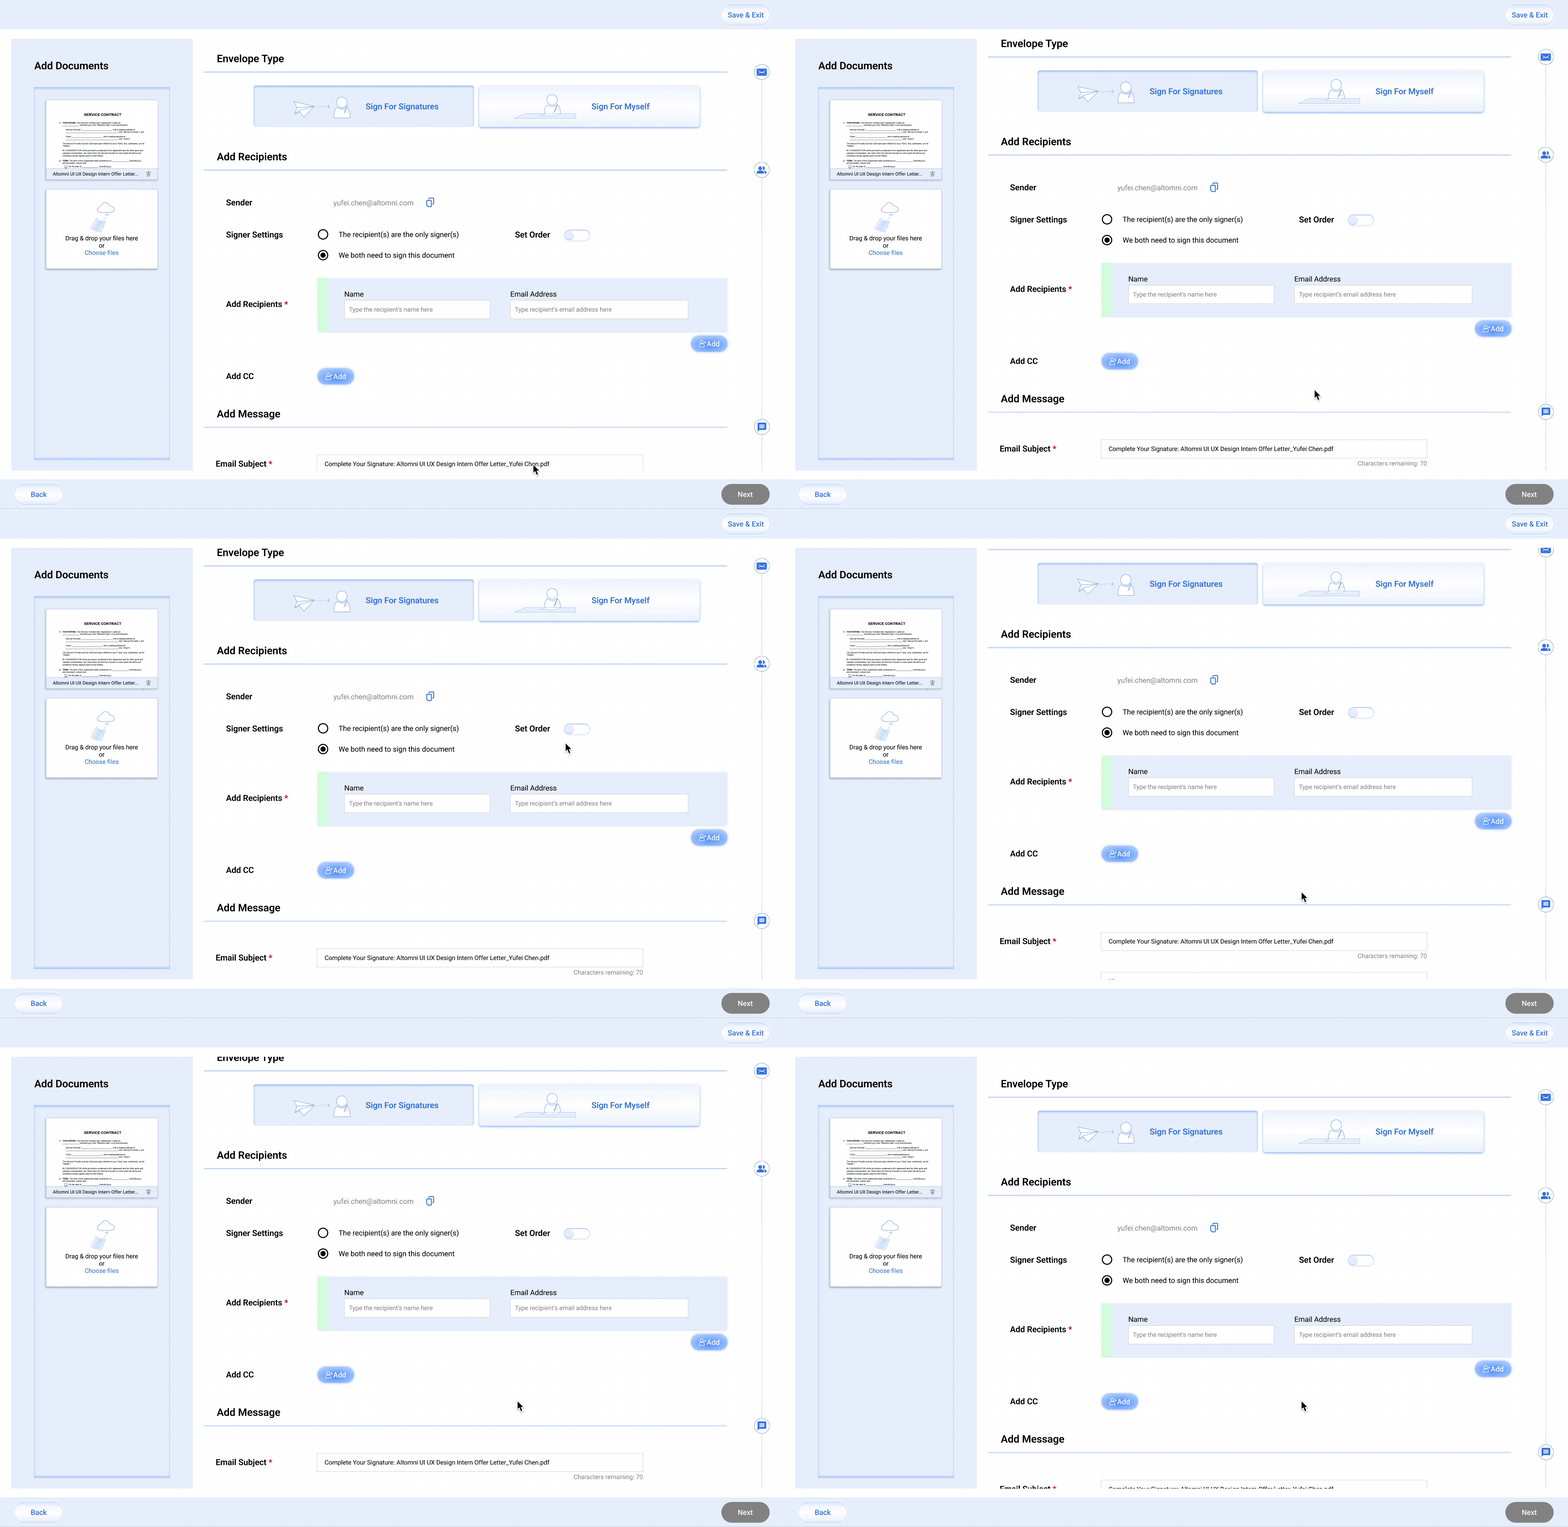
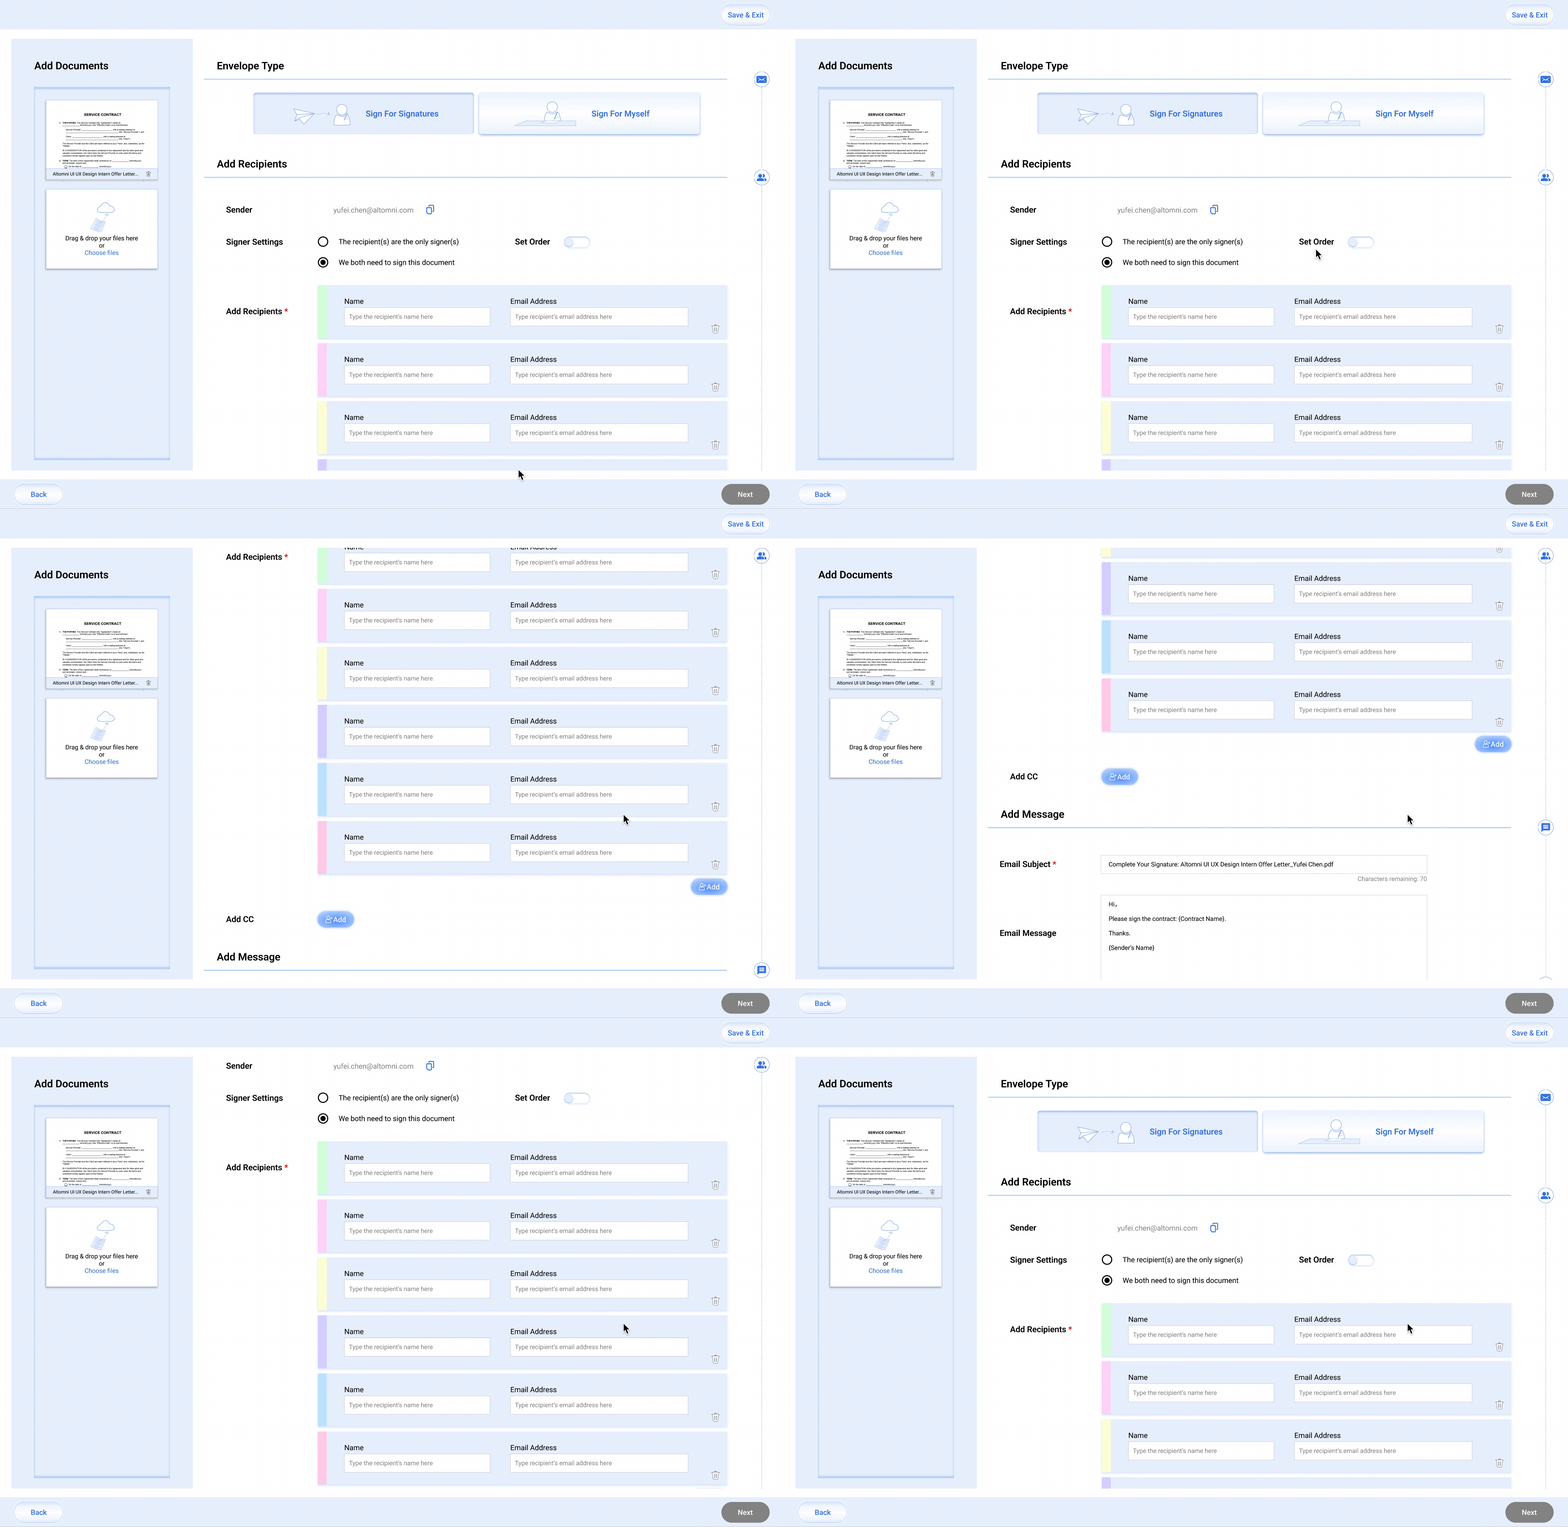
● When both sides need to sign and multiple recipients are added, if "Set Order" button is off, sender's name box will be hidden and there will be no number label shown.
● When there's only 1 recipient and the "Set Order" switch is on, both the sender's and recipient's name box will be shown, and the number labels will show on the left side of each name box, allowing sender to drag the boxes to adjust signing order.
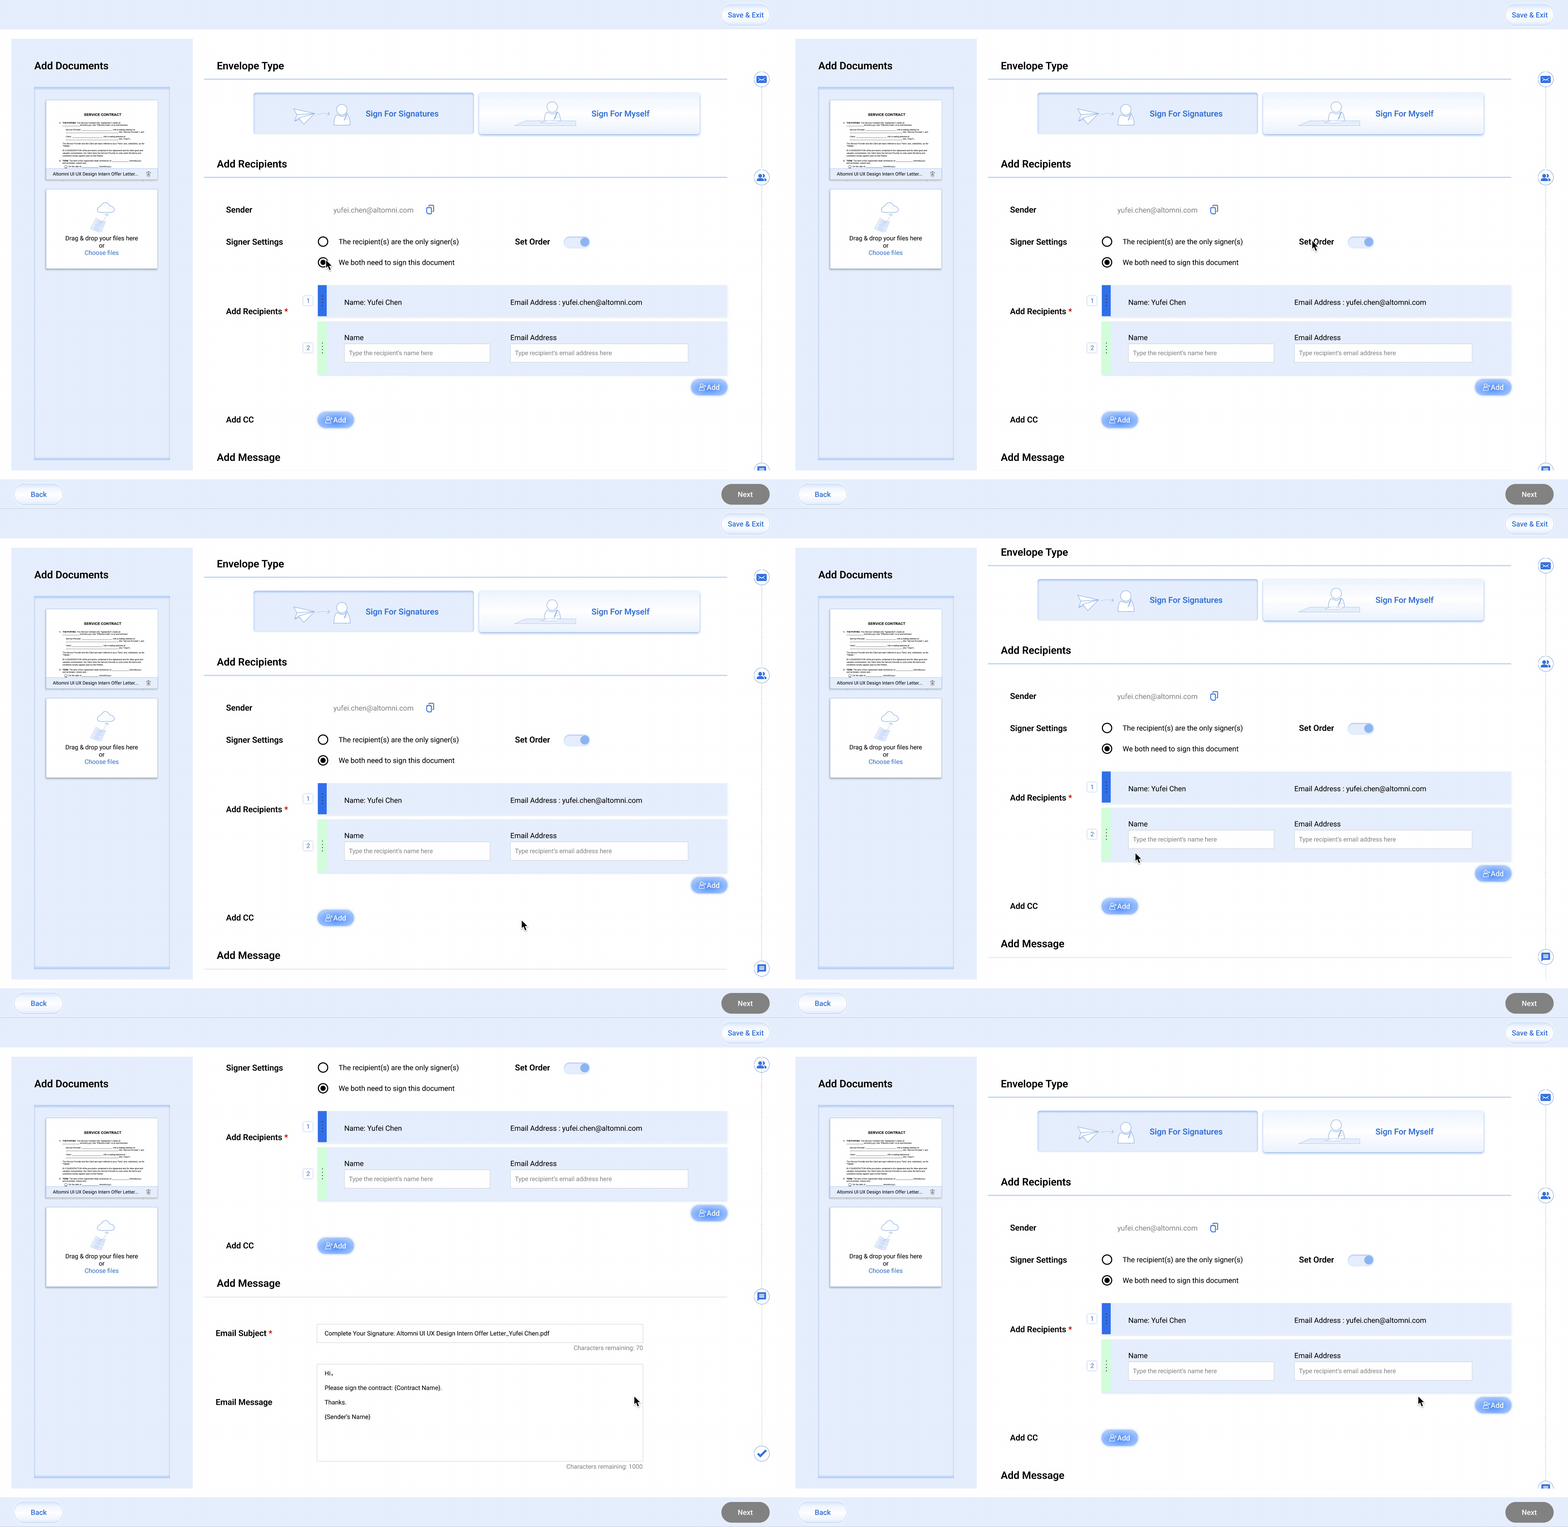
● When multiple recipients are added and the "Set Order" switch is on, both the sender's and recipients' name boxes will be shown, and the number labels will show on the left side of each name box.
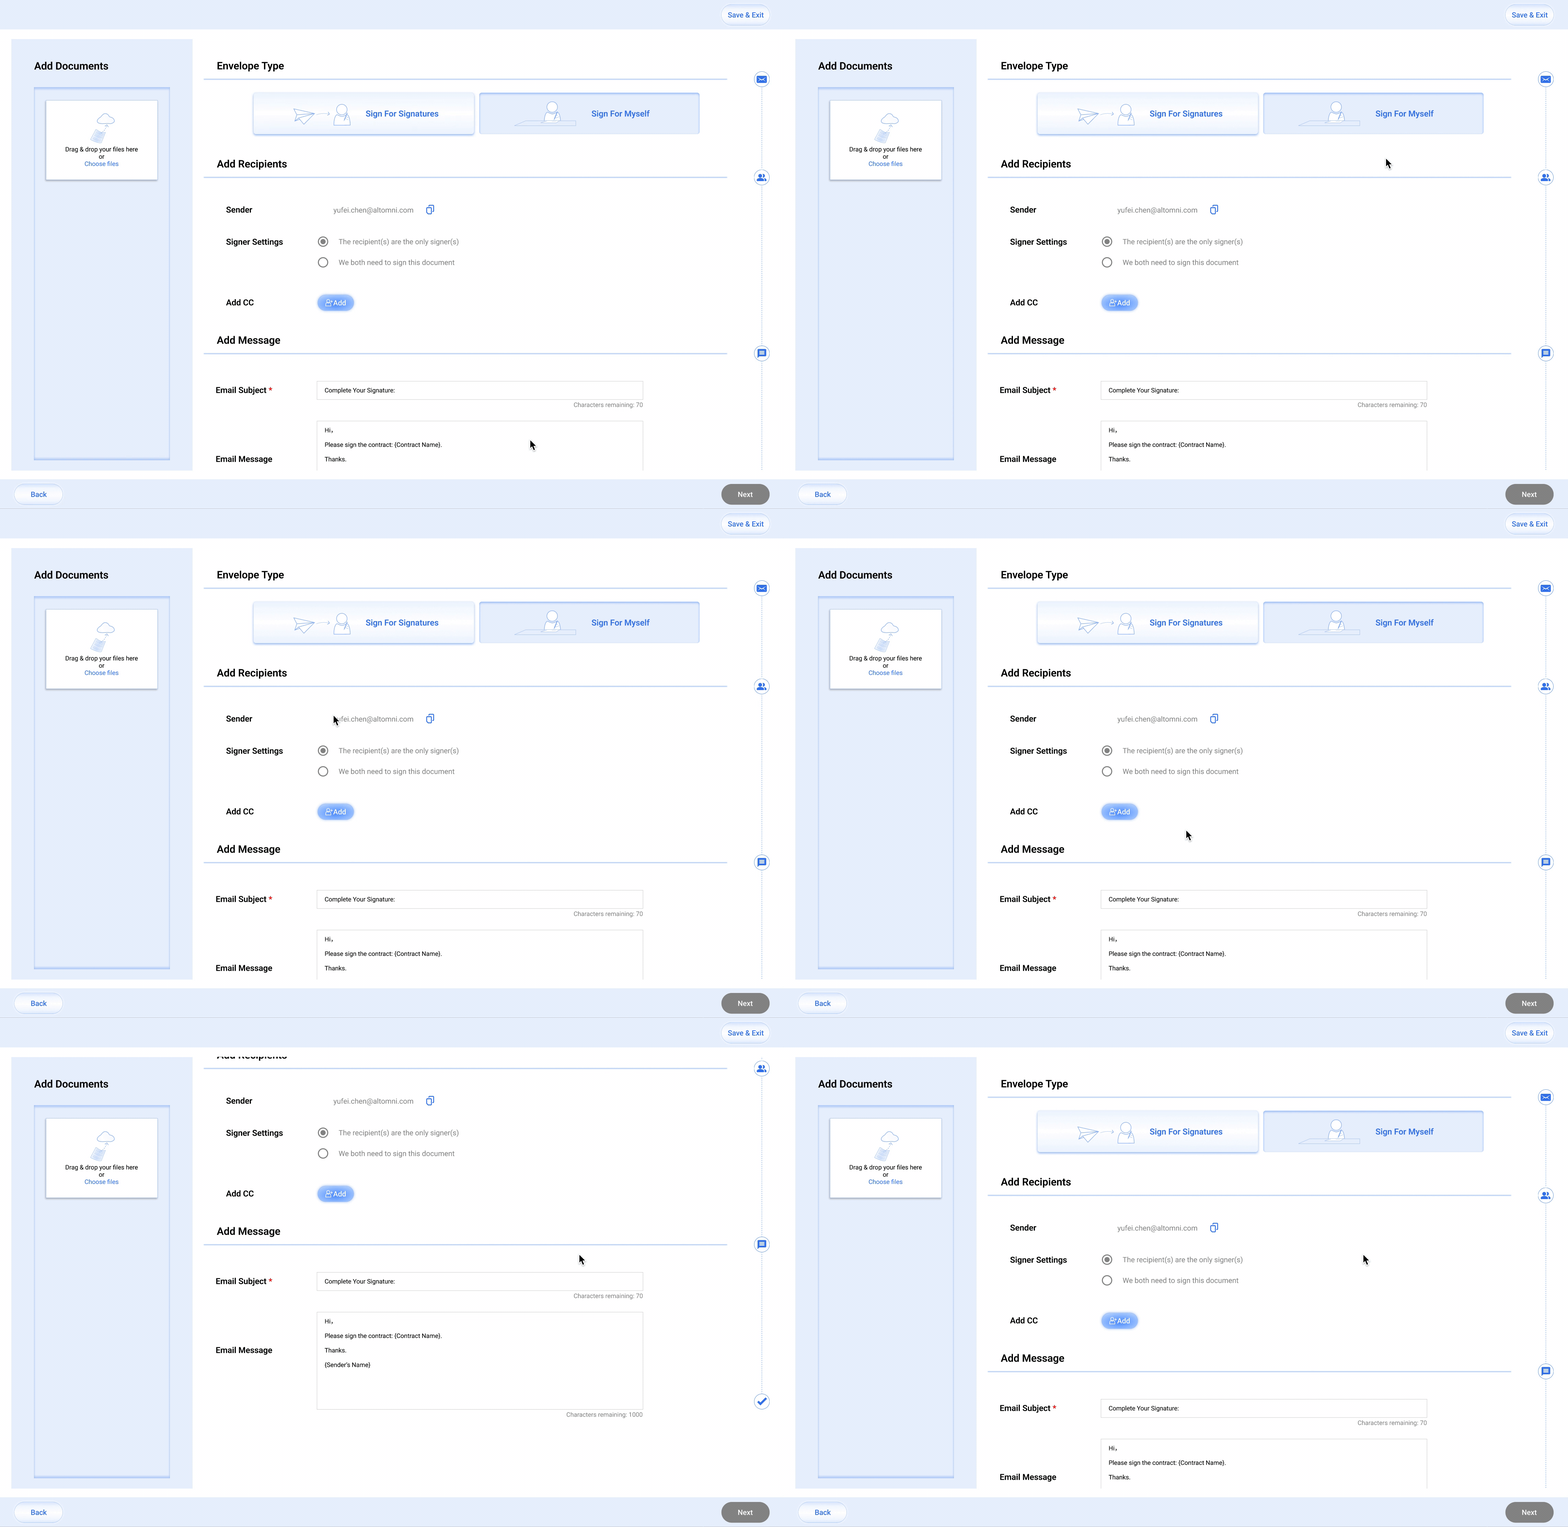
Create Envelope For Myself To Sign
● When the envelope is created for sender to sign only, the Signer Settings are disabled.
Prepare Documents
Entering Document Preparation
After entering all recipients' information, the "Next" button on the bottom right will be enabled. Click to enter the document preparation page.
Prepare Document
After completing all preliminary preparations, sender can proceed with contract editing within this process. By selecting different recipients, they can drag and drop the corresponding form fields that require completion into the contract body. On the right side of the page, a directory of all uploaded contracts is displayed.
If the setting is "Send For Signature":
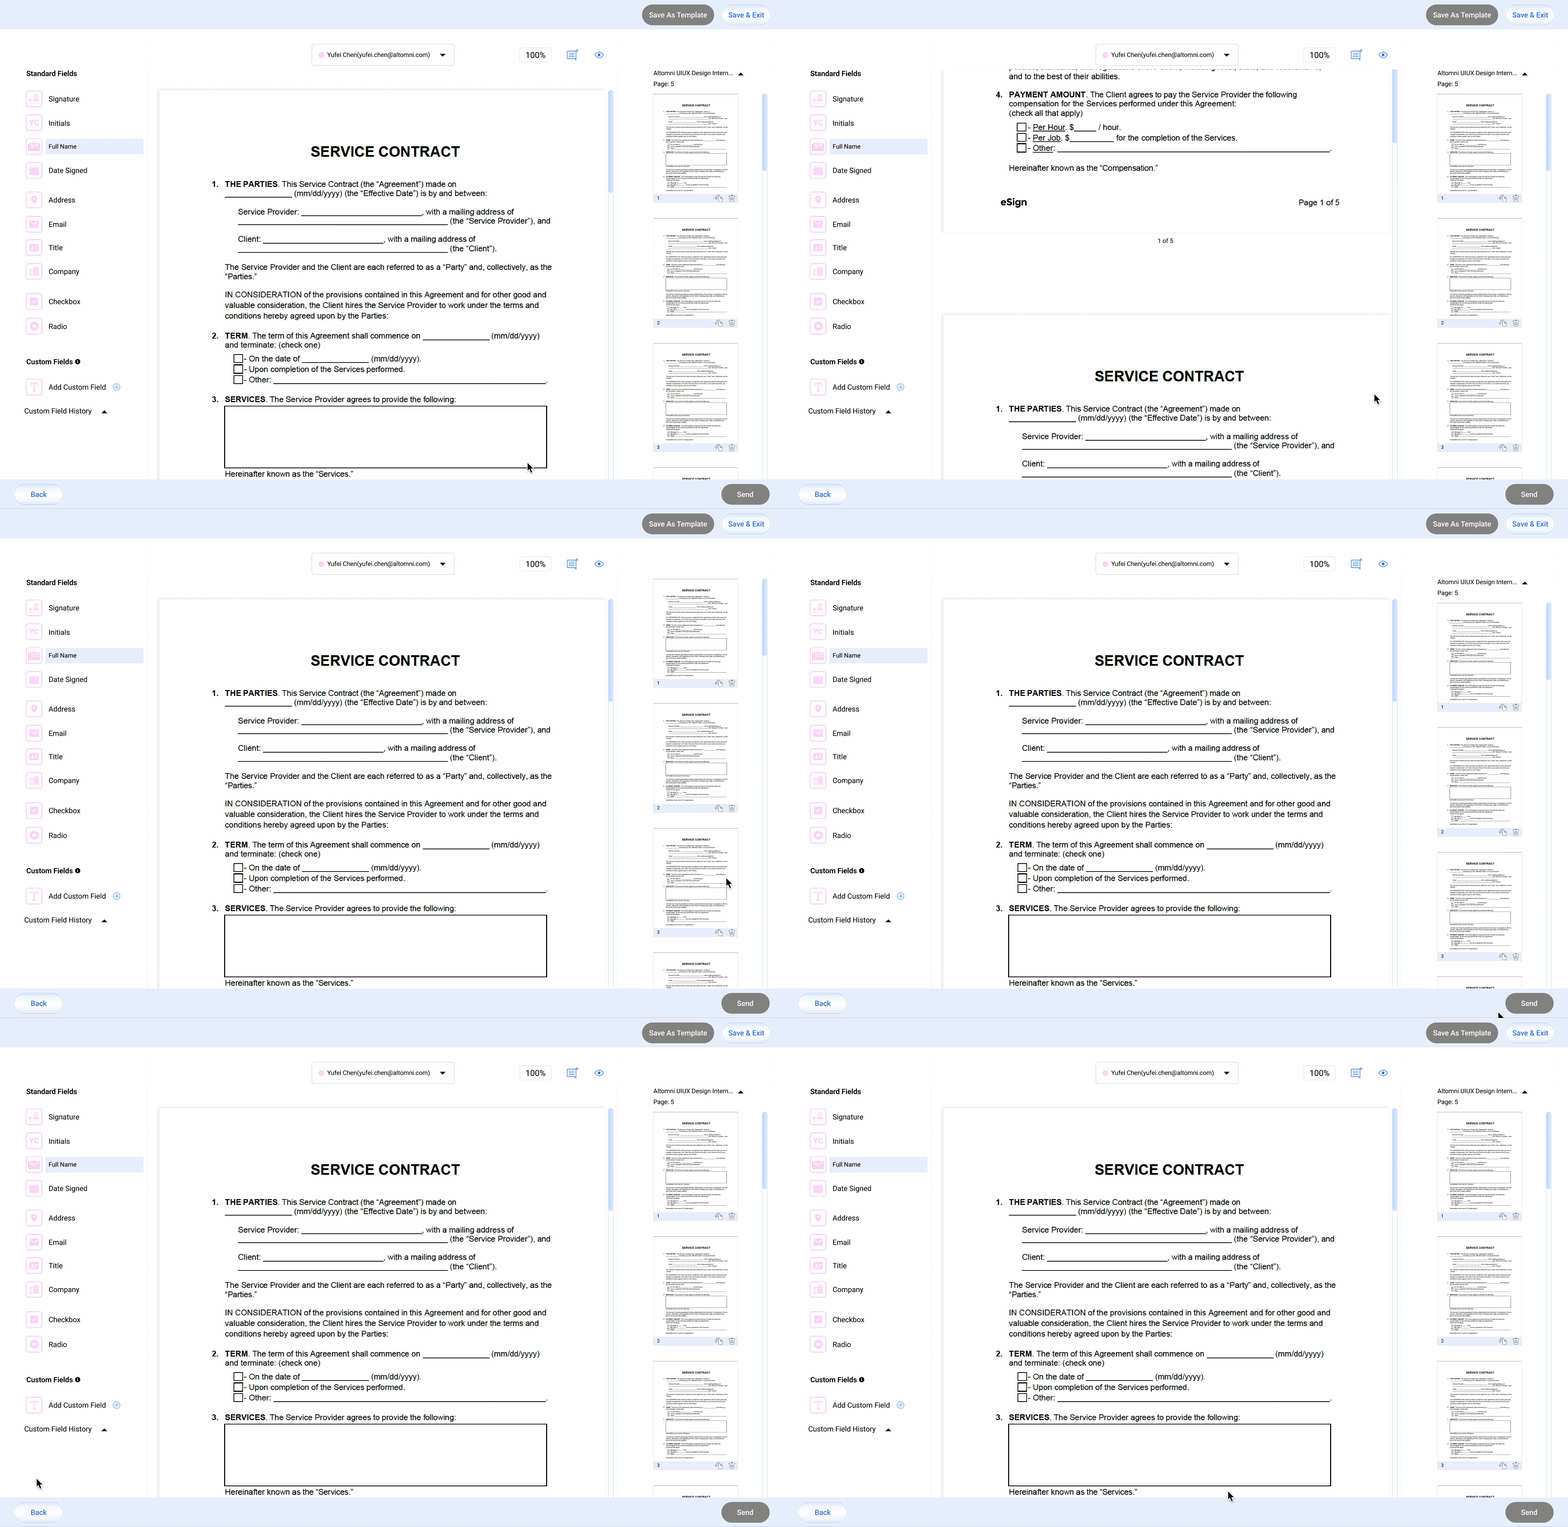
Before Editing: "Save As Template" and "Send" buttons are disabled. There is no color label on the thumbnails.
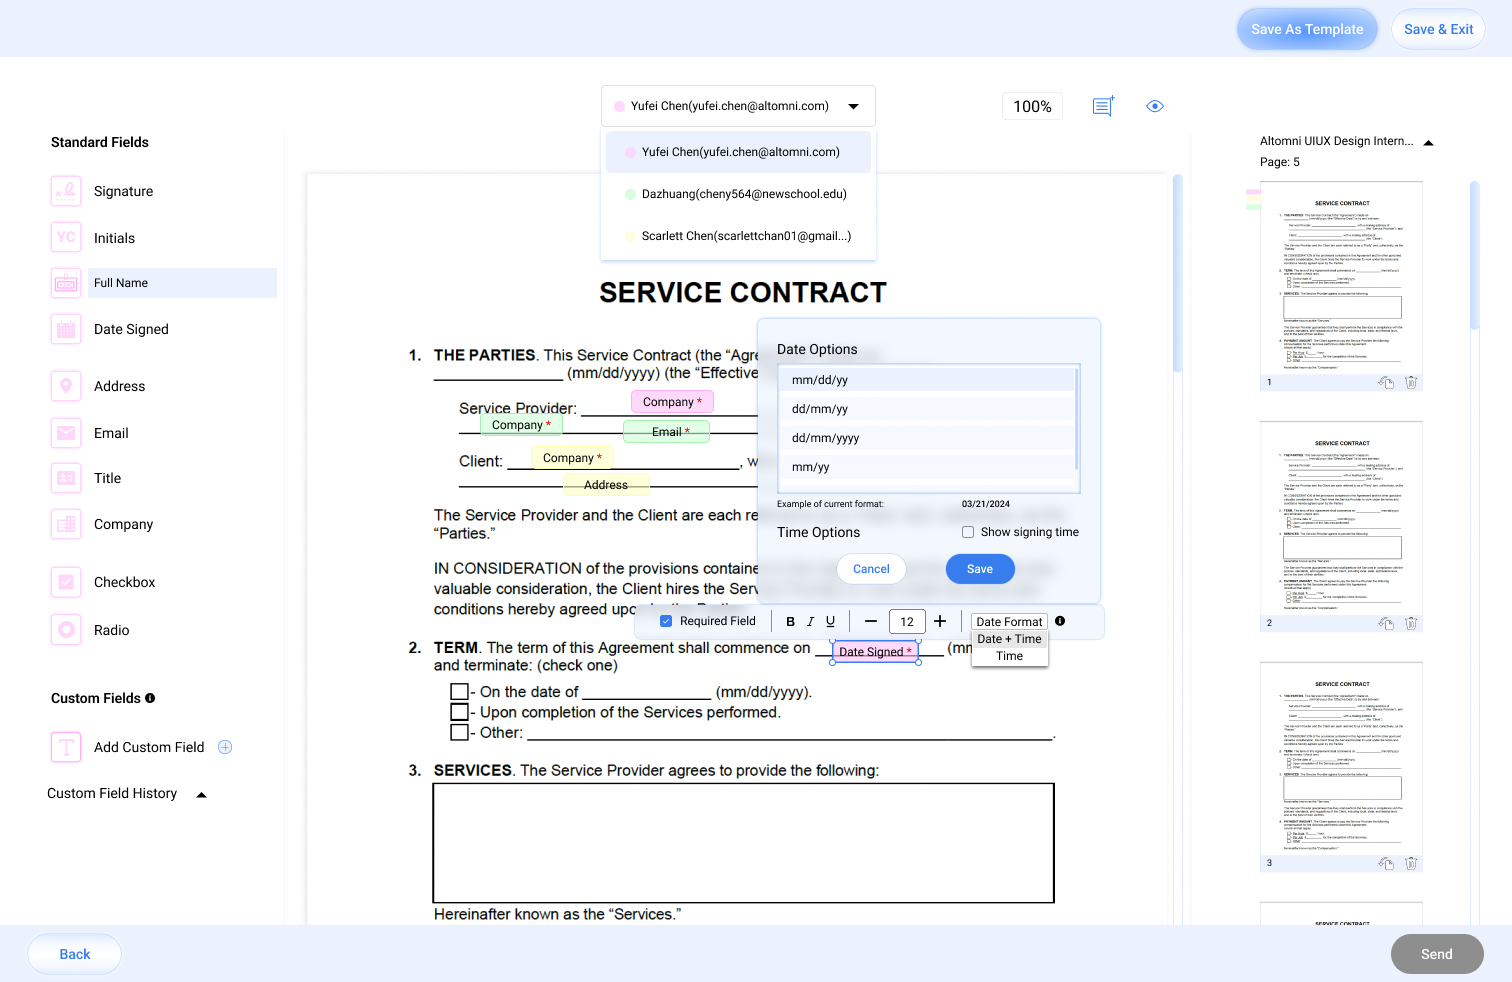
When field labels are added: Click added label can open the tool box, allowing format change.
Click name box on the top can add/delete field labels for different recipients.
Color labels will show on thumbnails to indicate pages that need to be signed. "Save Template" Button will be enabled.
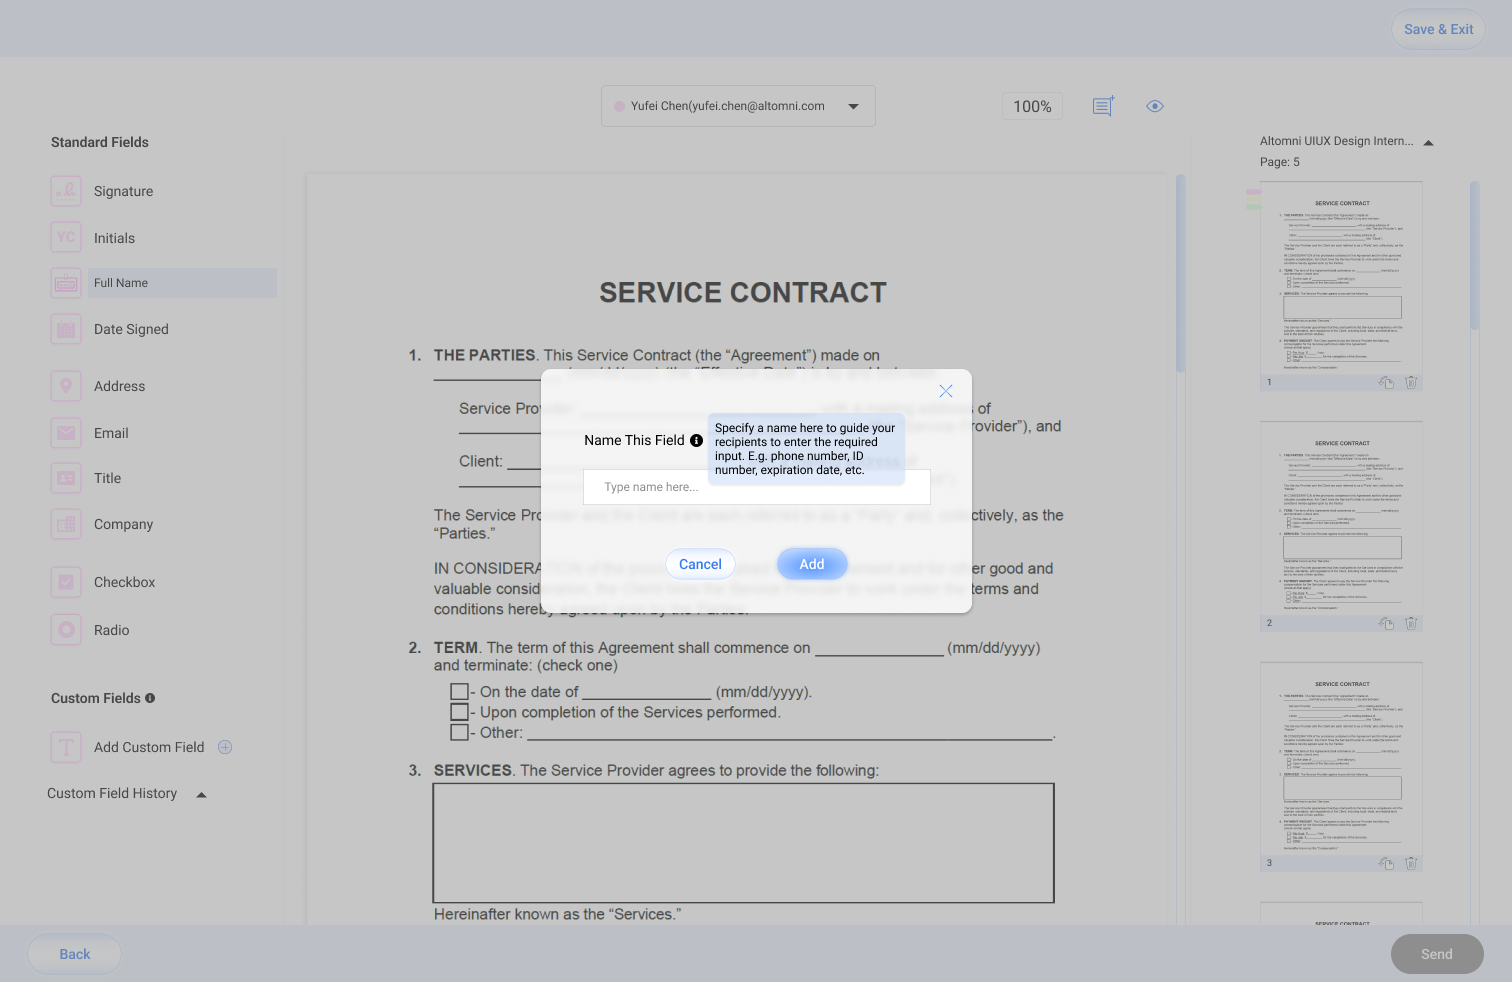
Add Custom Field: Click the "+" sign. Follow the instruction on pop-up window and enter the field name and save.
If the setting is "Sign For Myself":
If "Sign For Myself" is selected, upon entering this process, user can directly proceed with signing after dragging and dropping form fields.
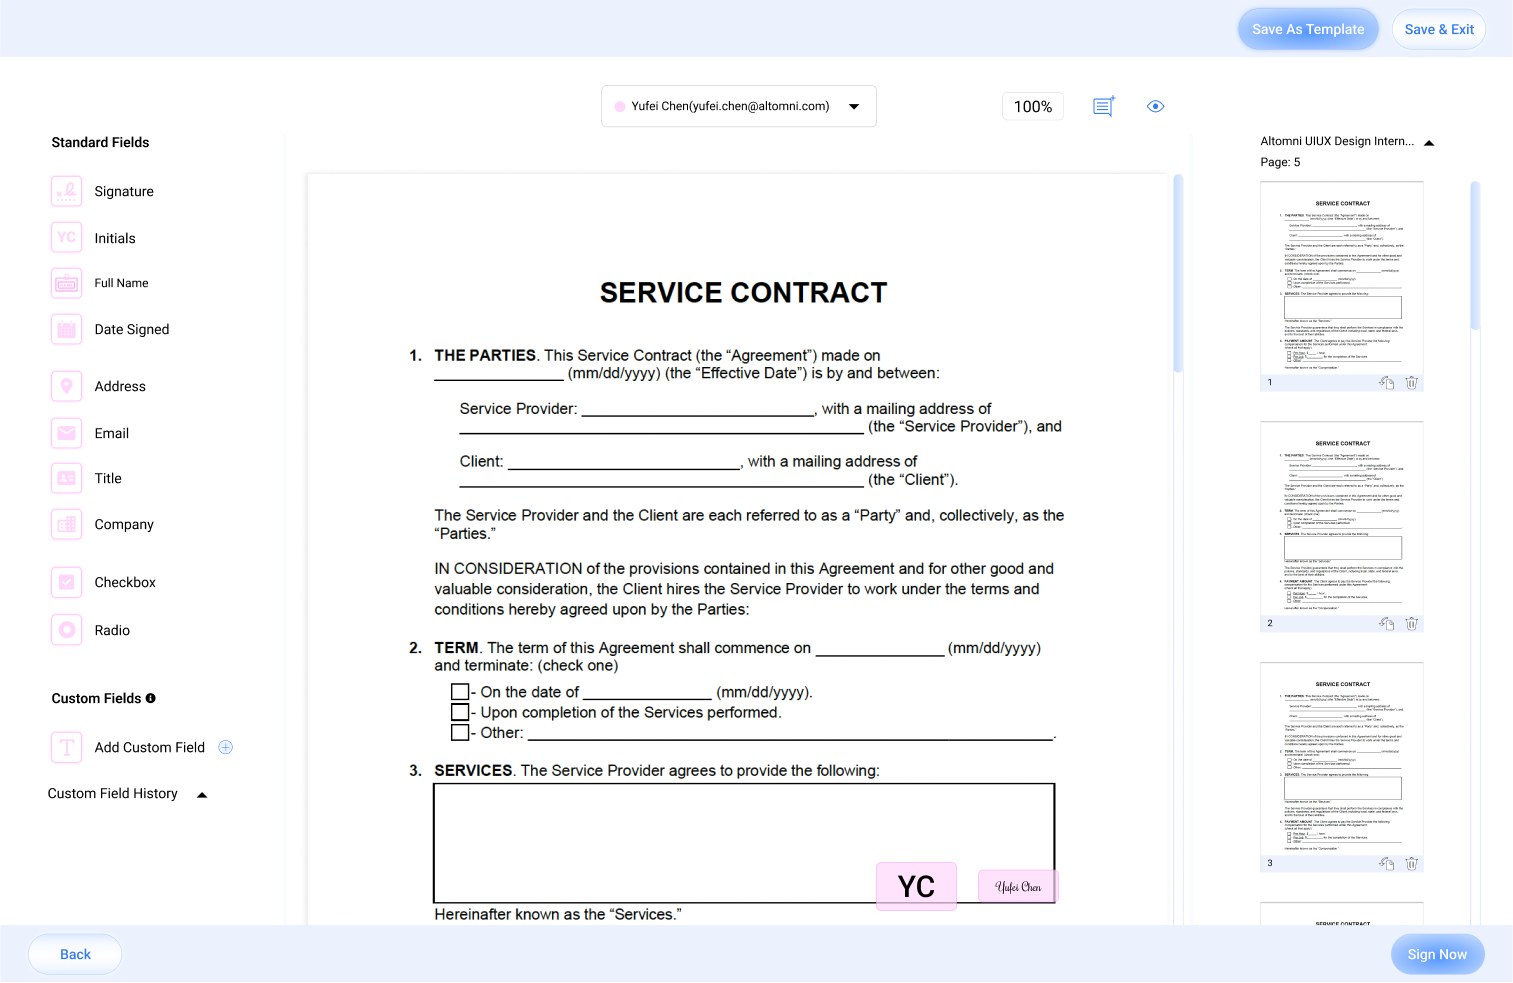
Send Document
After adding at least 1 field label for all recipients, click the "Send" button on the bottom right to send the document.
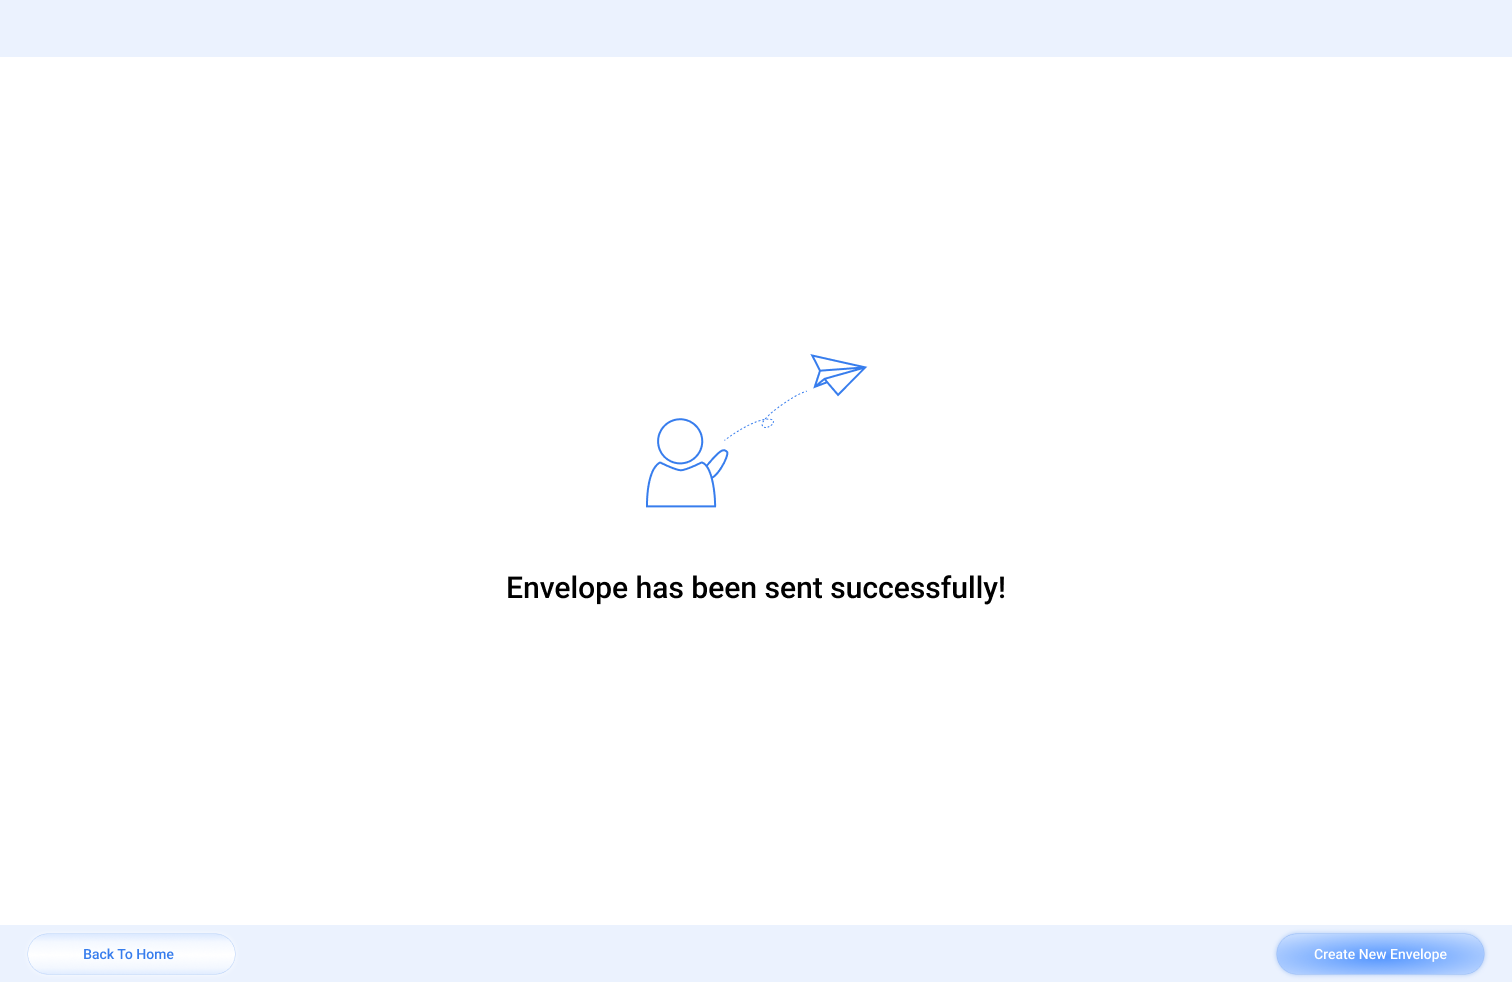
Document Successfully Sent
Email Design
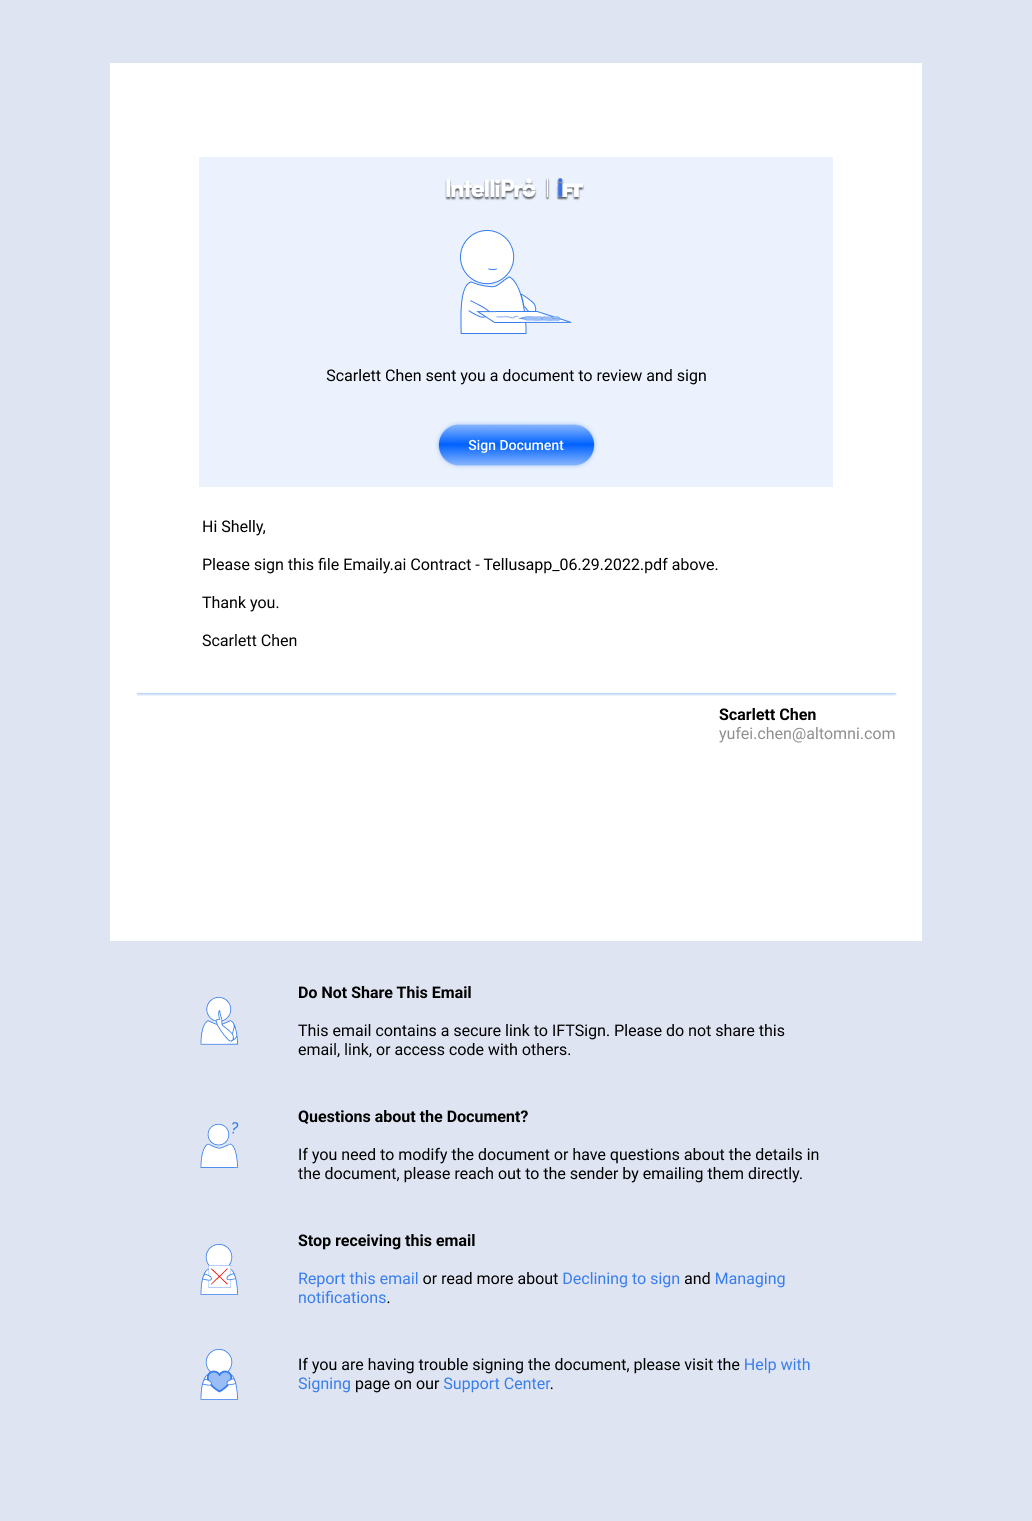
Email For Recipient(s) Before Signing
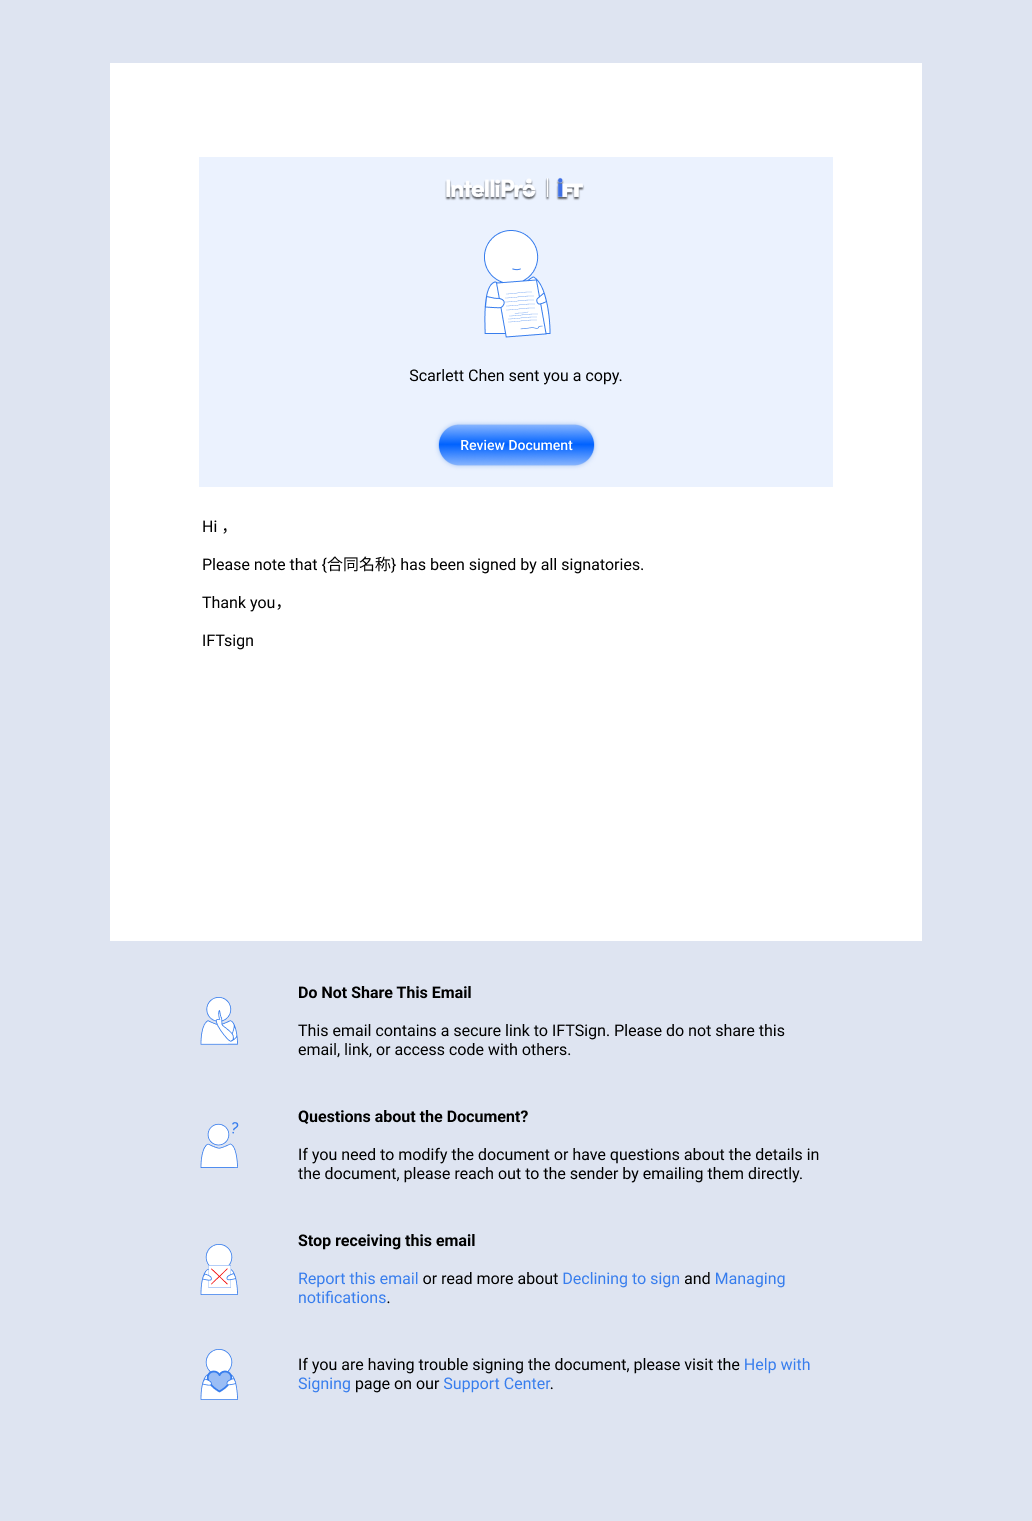
Email For CC(s) After Signing
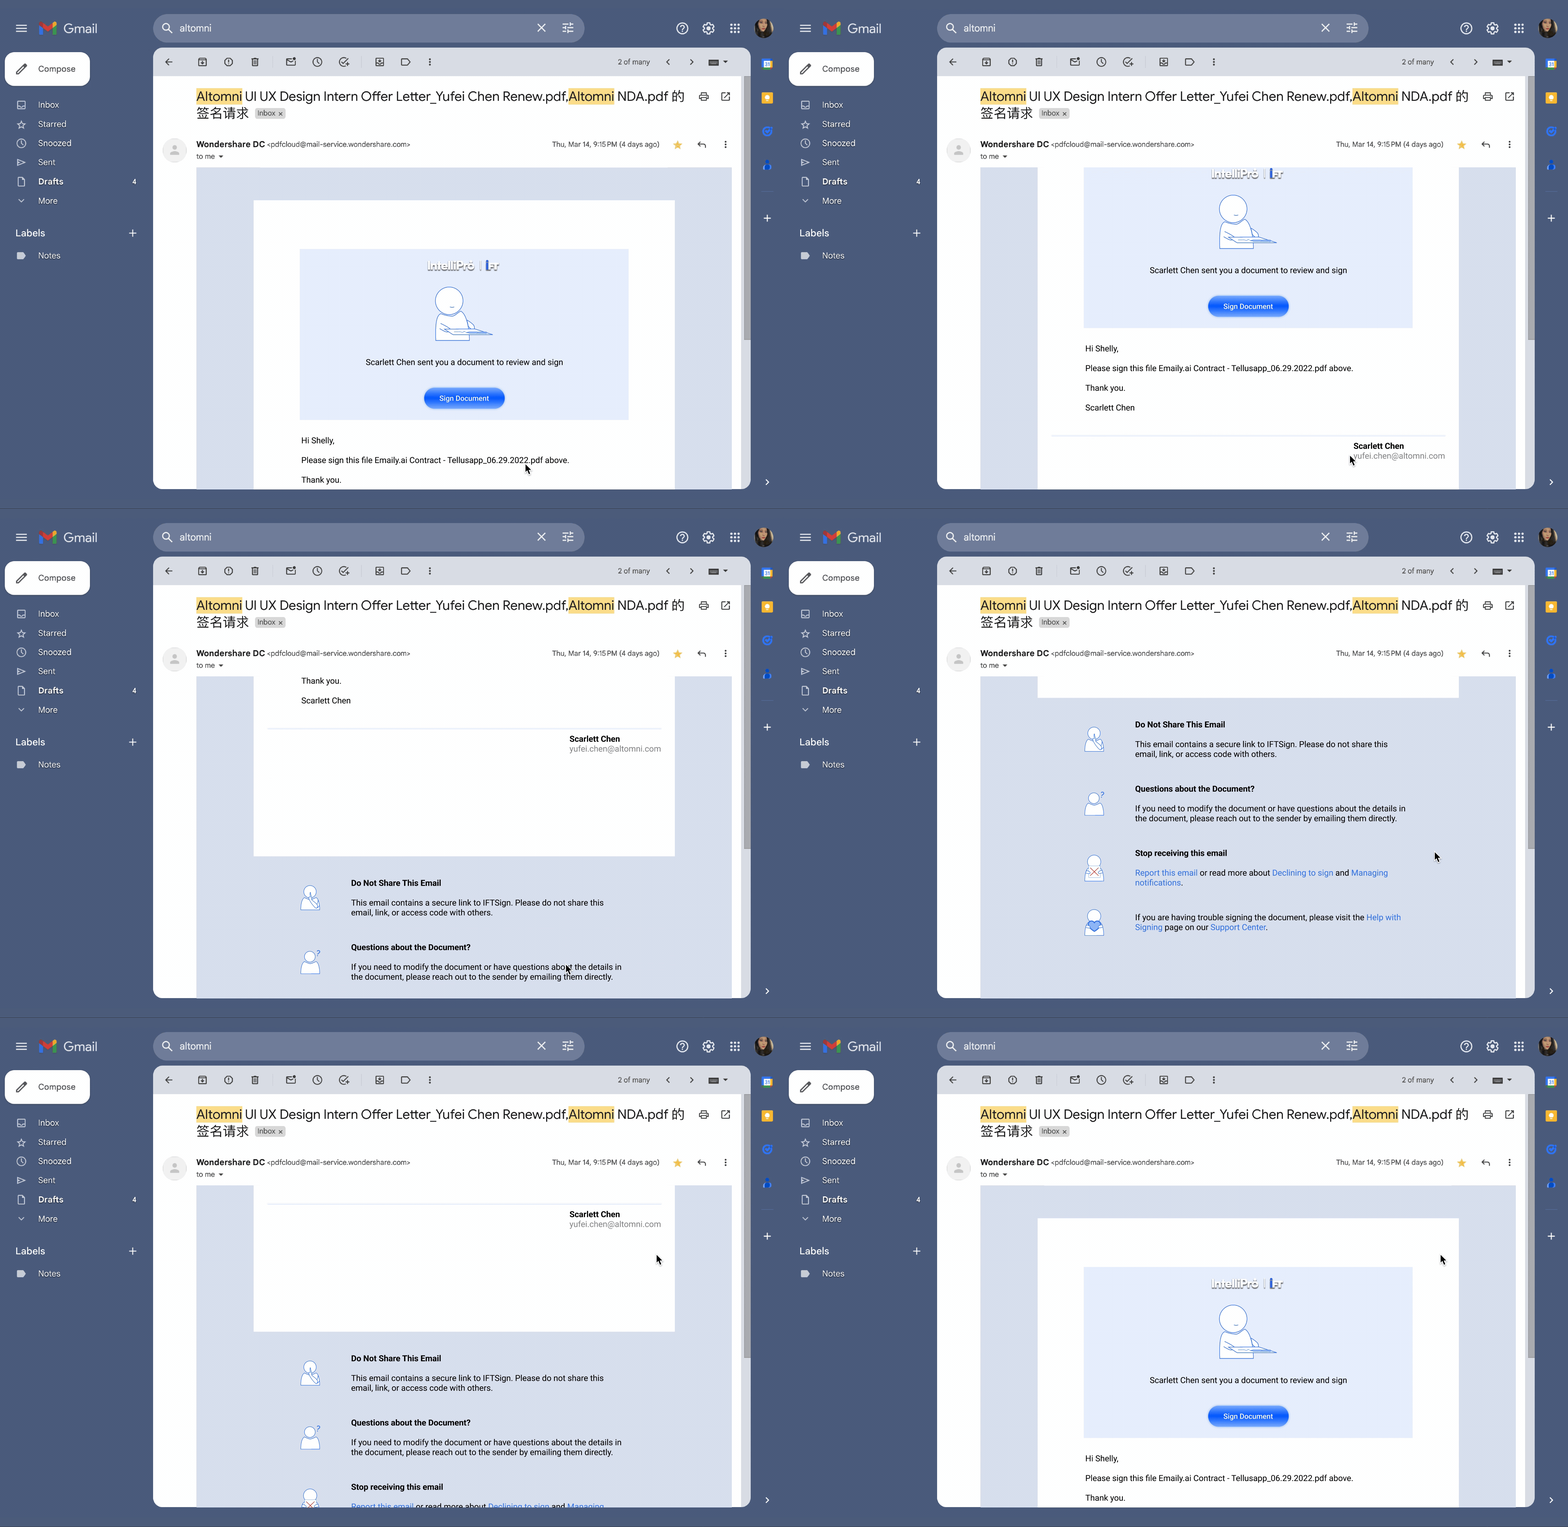
Email For Recipient(s) Before Signing: High-Fidelity Preview
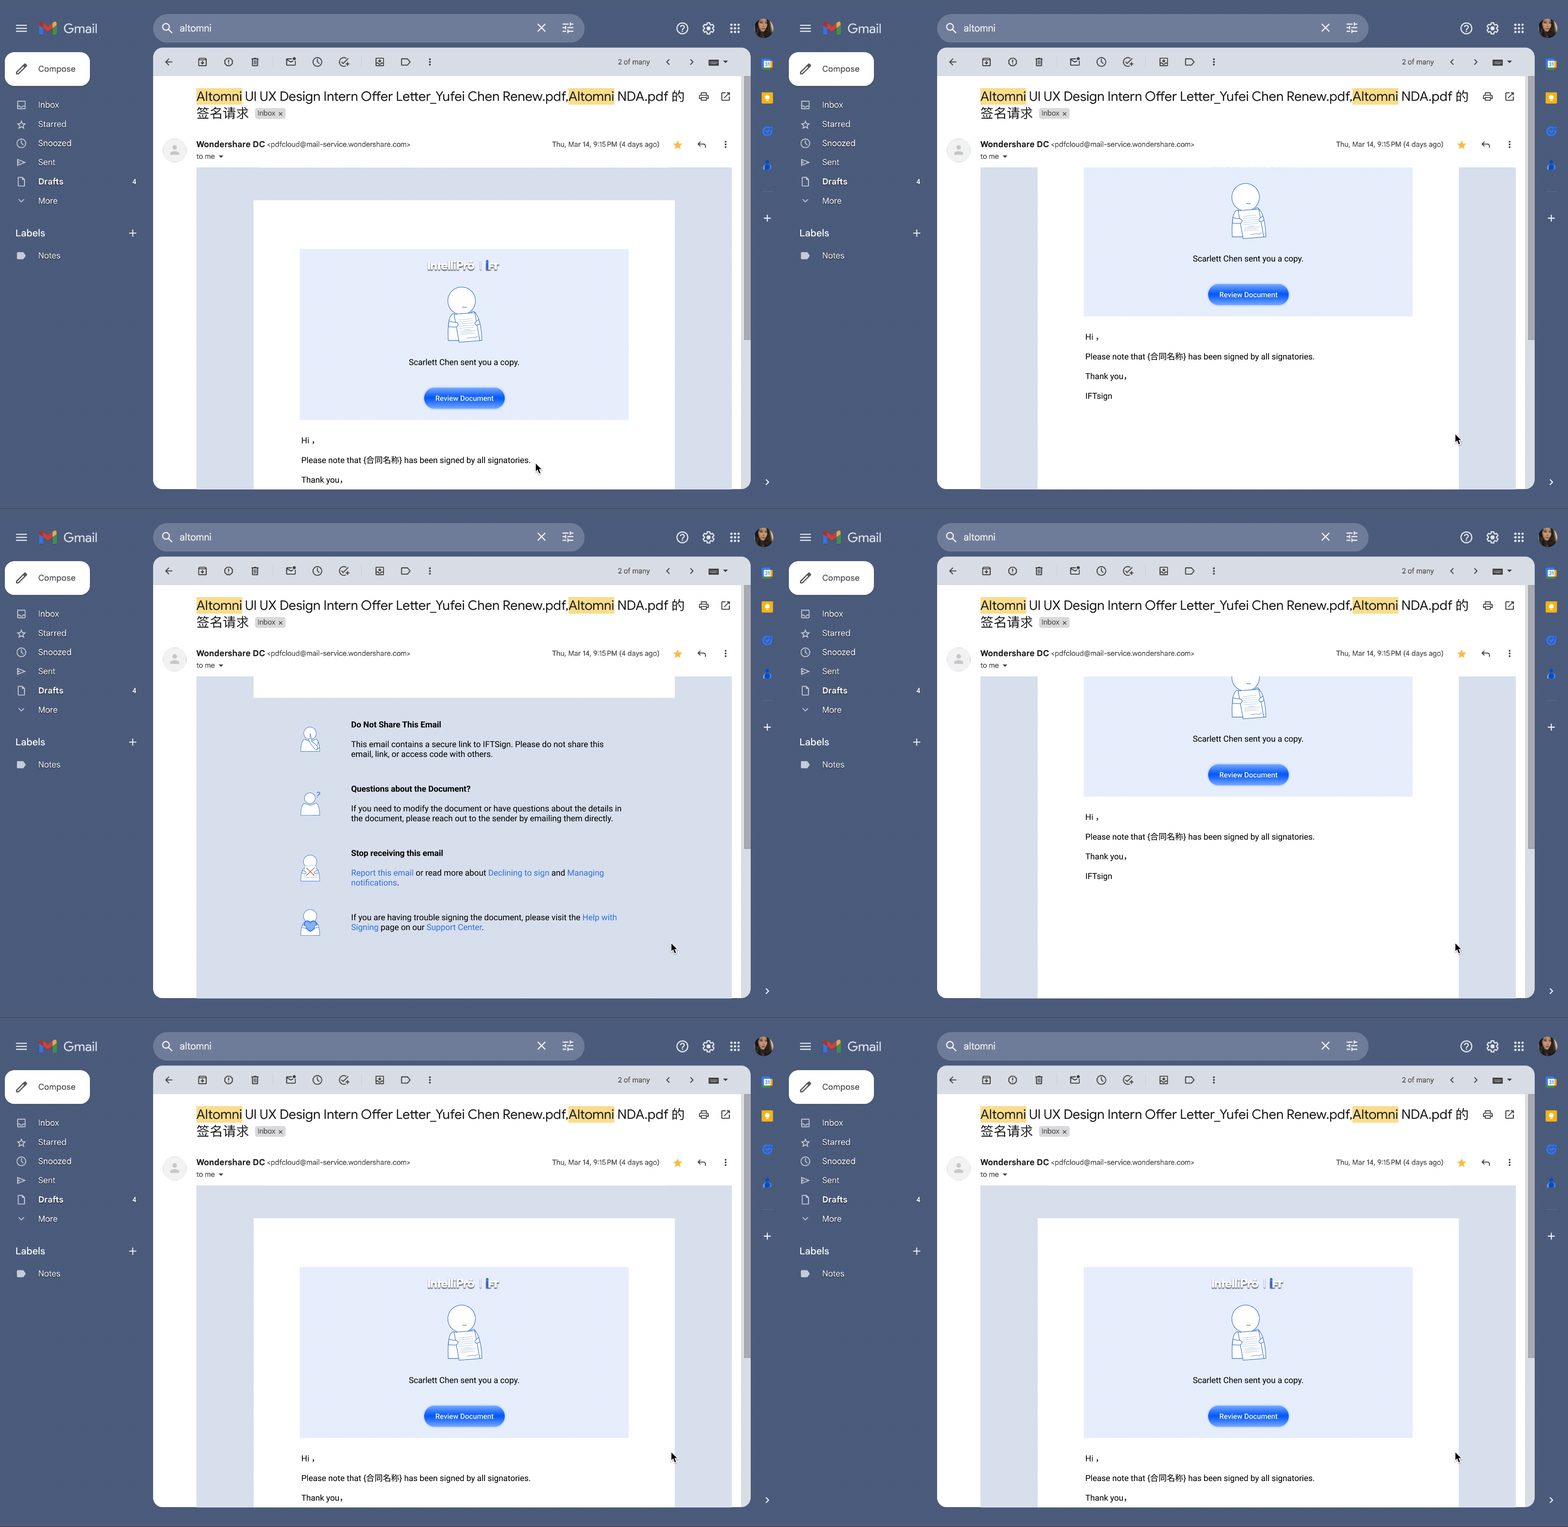
Email For CC(s) After Signing: High-Fidelity Preview